成果物をデプロイする
前回の続き.
Angularの入門をやってみたので, その成果物をデプロイした.
やったことのまとめ
- 作成済みの
Angularアプリを持ってきてローカルでビルドした - ビルドしたアプリを
nginxで公開した - アプリを
GitHub Pagesで公開した angular-cli-ghpagesを利用したデプロイを試した
つかうもの
- macOS Mojave 10.14
- Angular CLI
- https://cli.angular.io/
- バージョン: 9.1.4
- インストール済み
- nginx
- https://www.nginx.com/
- nginx/1.17.8
- brewでインストール済み
- angular-cli-ghpages
- https://www.npmjs.com/package/angular-cli-ghpages
- “version”: “0.6.2”
- 今回入れる
- GitHubのリポジトリ
やったこと
Angularアプリのビルド
Angular公式の入門でStackBlitz上で作ったアプリがダウンロードできるようになっているので,
これを試しにビルドしてみる.
サンプルアプリを作ったときと同じように, 新たにワークスペースを作成する.
今回はサンプルアプリは作らず空のワークスペースを作ってみる.
# 空のワークスペースを作成
$ cd workspace
$ ng new --create-application=false angular-first-app
$ ls angular-first-app
README.md         angular.json      node_modules      package-lock.json package.json      tsconfig.json     tslint.json
自分の作ったStackBlitzプロジェクトからDownload Projectしてきた <プロジェクトID>.angular をコピーして,
実際にアプリを立ち上げてみる.
# 入門で作ったプロジェクトをコピー
$ cd angular-first-app
$ cp -rf ~/Downloads/<プロジェクトID>.angular/* ./

# そのまま起動すると依存関係が足りなくて失敗する
$ ng serve
An unhandled exception occurred: Cannot find module '@angular-devkit/build-angular/package.json'
Require stack:
...
See "/private/var/folders/t7/qck11mhn5fj4q6r1mbdf2nxw0000gn/T/ng-D1yxxF/angular-errors.log" for further details.

# package.jsonに記述された依存パッケージをインストールしてから再度起動
$ npm install
$ ng serve
...
** Angular Live Development Server is listening on localhost:4200, open your browser on http://localhost:4200/ **
: Compiled successfully.
# 動作確認ができたらCtrl+Cで終了する
ブラウザで http://localhost:4200/ を開くと入門でつくったものと同じアプリが起動していることが確認できる.
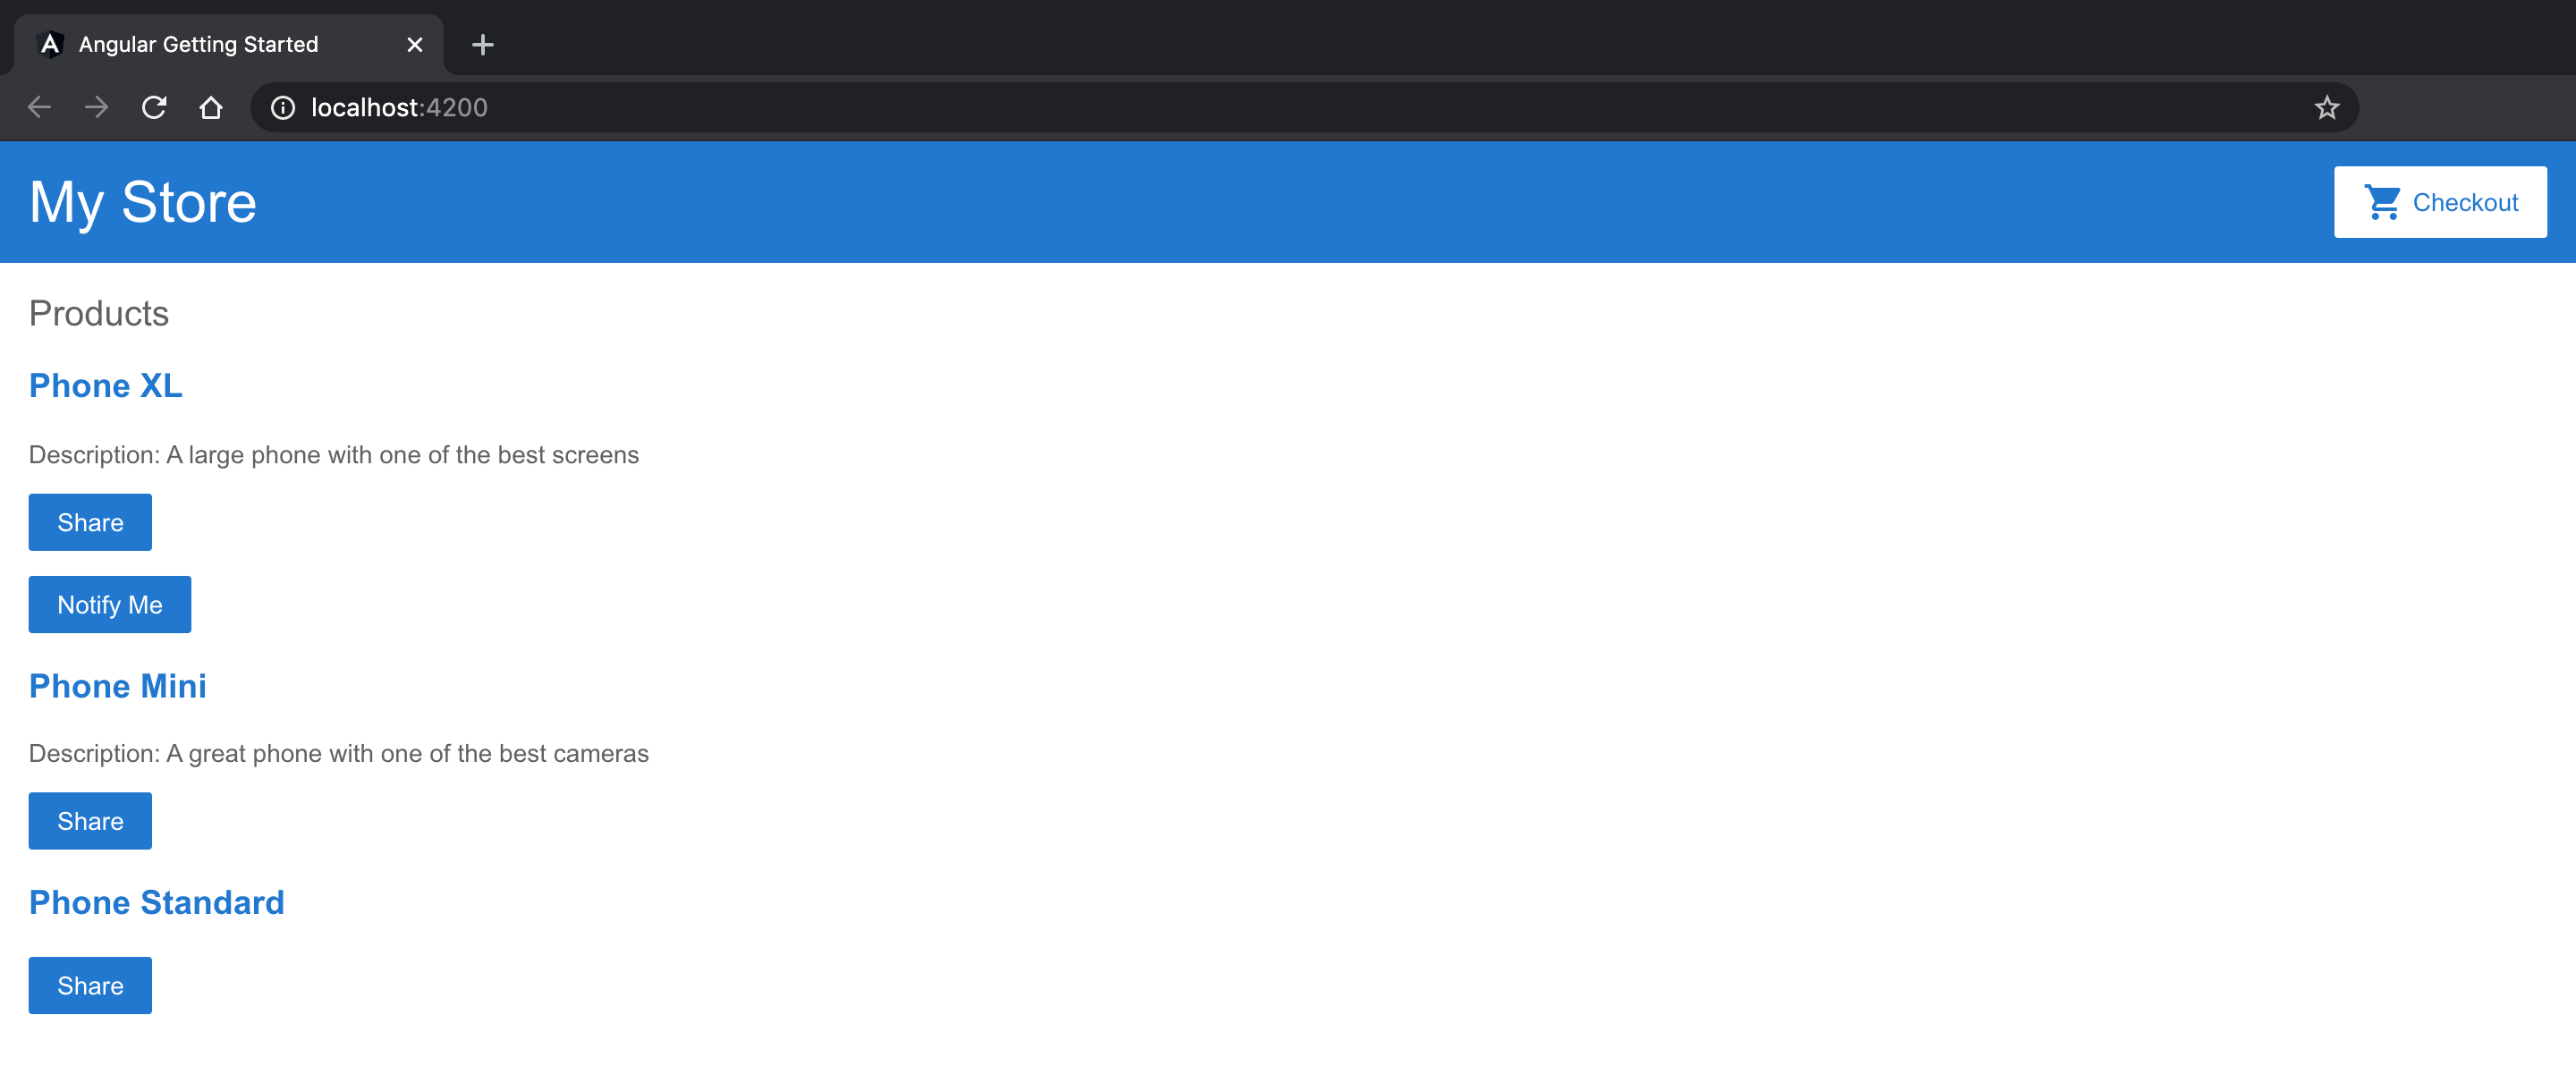
これでアプリの動作確認はできたので, 実際にビルドしてみる.
ビルドが成功すると成果物として dist ディレクトリが作成されていることがわかる.
# ビルド前の状態
$ cd angular-first-app
$ ls
README.md          karma.conf.js      package-lock.json  src                tsconfig.json      tslint.json
angular.json       node_modules       package.json       tsconfig.app.json  tsconfig.spec.json

# アプリをビルド
$ ng build --prod
Generating ES5 bundles for differential loading...
ES5 bundle generation complete.

...
Date: 2020-05-04T01:48:14.298Z - Hash: 19cf3332dd4d450b70af - Time: 39294ms

# ビルド後
$ ls
README.md          dist               node_modules       package.json       tsconfig.app.json  tsconfig.spec.json
angular.json       karma.conf.js      package-lock.json  src                tsconfig.json      tslint.json
$ ls dist
3rdpartylicenses.txt                     main-es2015.6d0587fd878af4417329.js      polyfills-es5.30e587ebdc07016ad8d1.js    styles.c7ea3b8058a0e880ad91.css
assets                                   main-es5.6d0587fd878af4417329.js         runtime-es2015.1eba213af0b233498d9d.js
index.html                               polyfills-es2015.f8d7ae8b8a28c567fae7.js runtime-es5.1eba213af0b233498d9d.js
Angularアプリをデプロイするときはこの dist/index.html をwebサーバーで公開すれば良いらしい.
nginxでデプロイ
まずはビルドした成果物をnginxで公開してみる.
必要な作業は作成された dist ディレクトリをドキュメントルートに設定するだけ. かんたん.
# 絶対パスを確認
$ cd dist
$ pwd
/path/to/angular-first-app/dist

# nginx設定ファイルを編集して起動
$ vim /usr/local/etc/nginx/nginx.conf
$ nginx

# 動作確認が終わったら止める
$ nginx -s stop
nginx.conf
worker_processes  1;
events {
    worker_connections  1024;
}

http {
    include       mime.types;
    default_type  application/octet-stream;

    sendfile        on;

    keepalive_timeout  65;

    server {
        listen       8080;
        server_name  localhost;

        location / {
            # Angularアプリのdistディレクトリを指定
            root   /path/to/angular-first-app/dist;
            index  index.html index.htm;
        }

        error_page   500 502 503 504  /50x.html;
        location = /50x.html {
            root   html;
        }
    }

    include servers/*;
}
nginxが問題なく動いたらブラウザで http://localhost:8080/ を開く.ng serveしたときと同じアプリが動いていることが確認できる.
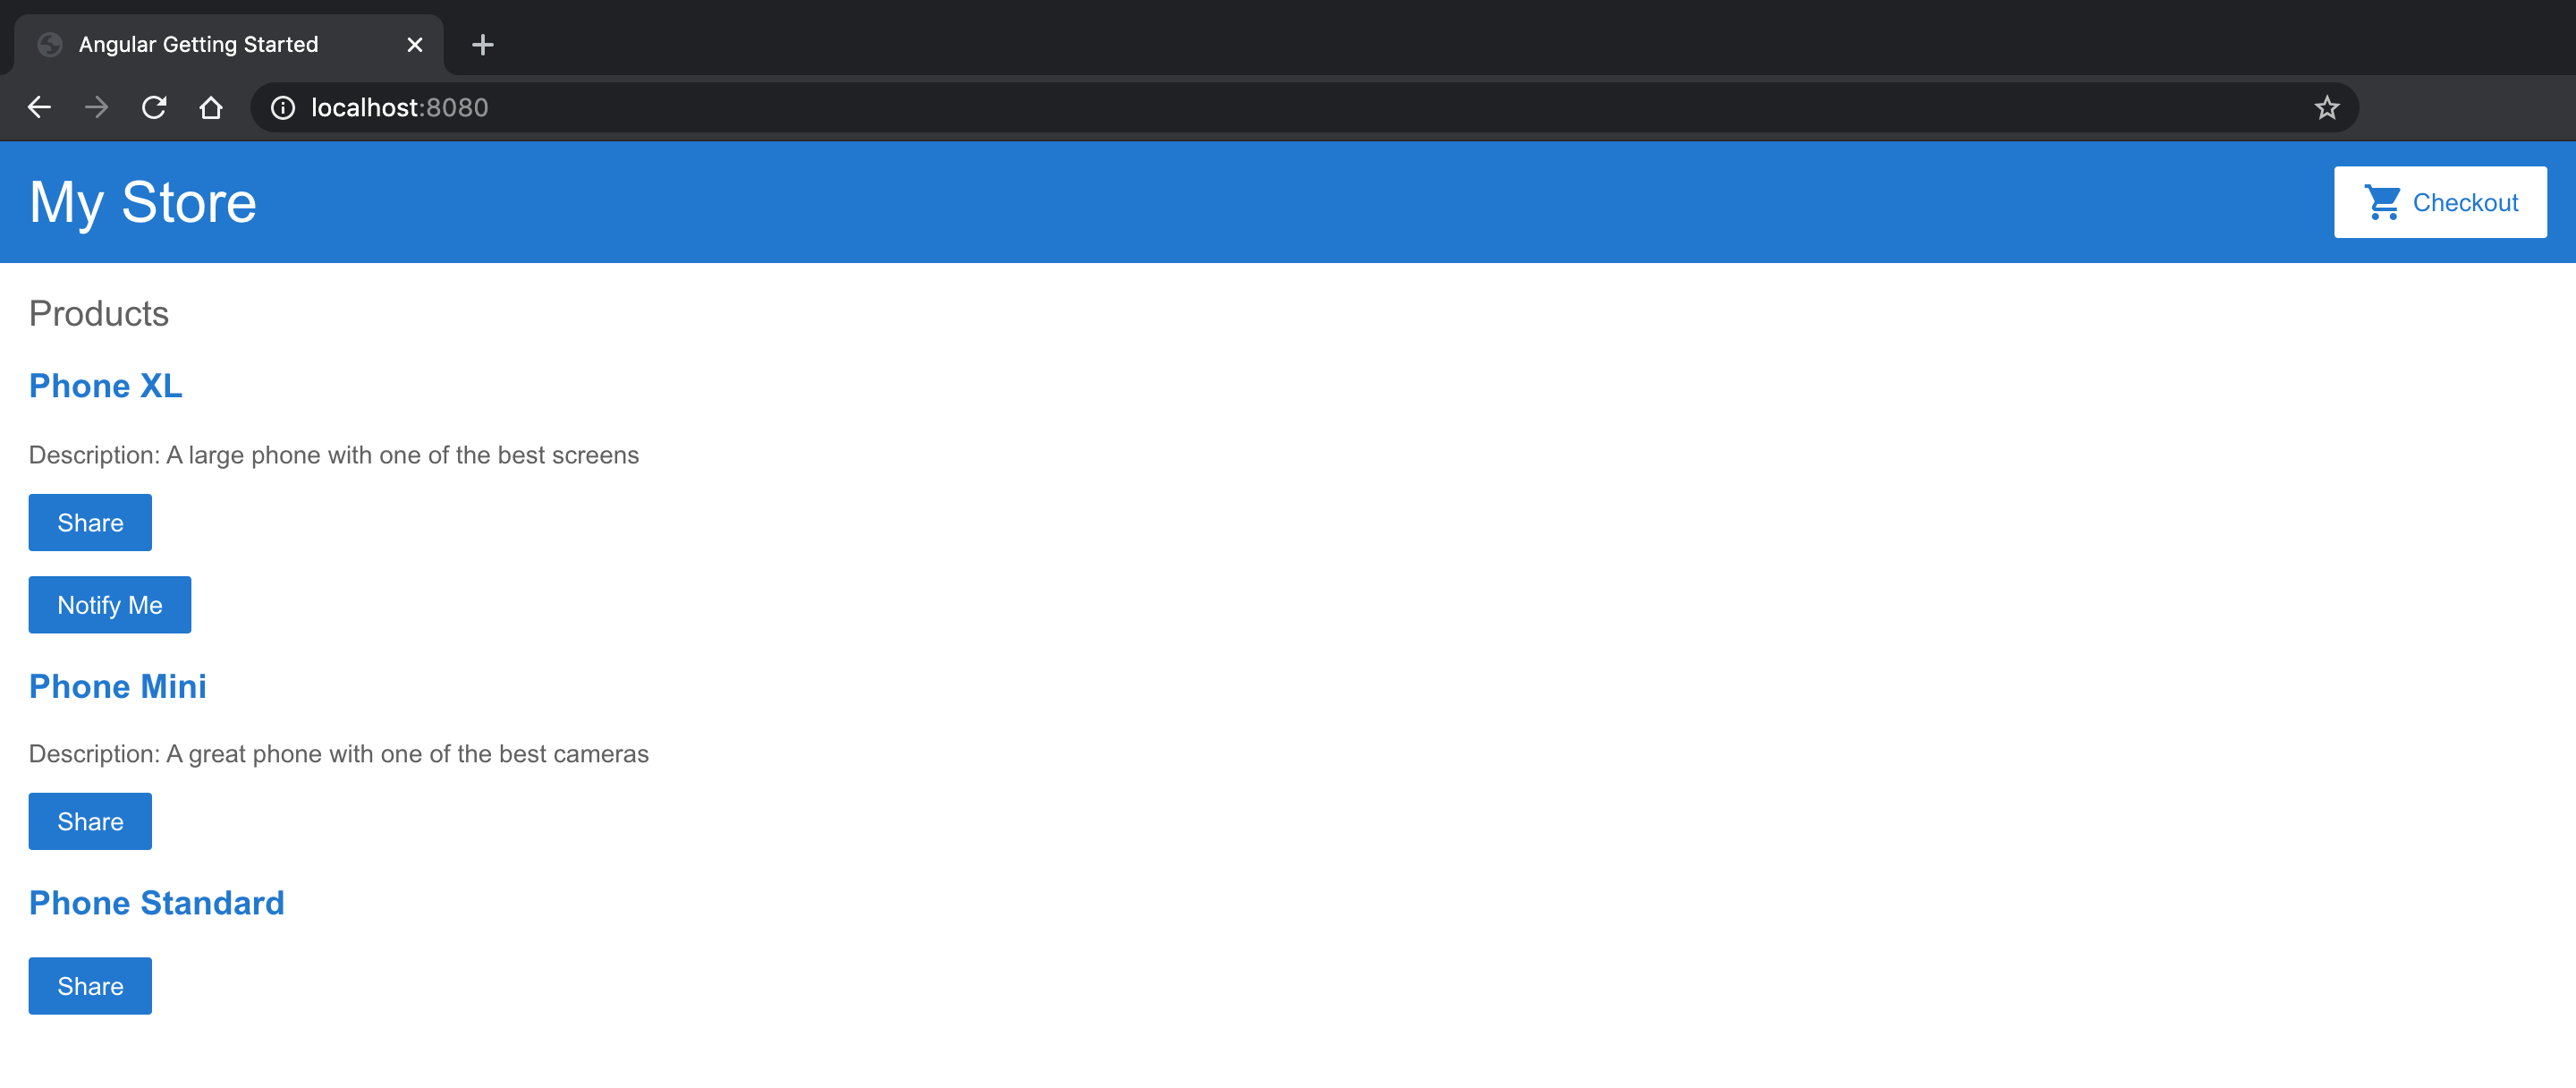
今回はMacのnginxだったので手動で止めたけど,
本番環境でnginxがdaemon化されている場合も同様にnginx.confをいじればアプリがデプロイできる. はず.
GitHub Pagesでデプロイ
自分でwebサーバーを管理するのが面倒な場合はGitHub Pagesを使うこともできる.
デプロイ方法は2通り.
手動でやる場合
まずはGitHub Pagesの公開に必要なリポジトリ(angular-first-app)をここから作成する.Initialize this repository with a READMEのチェックは外しておく.
今回作ったリポジトリ : https://github.com/uzimihsr/angular-first-app
このリポジトリにpushしたファイルがGitHub Pagesとして公開されるので,
Angularアプリのビルドで作成したディレクトリ(angular-first-app)をこのリポジトリに紐付ける.
# ng new した時点で.gitが作成されているのでinitはたぶん不要
$ cd angular-first-app
$ ls -a
.                  .editorconfig      .gitignore         angular.json       karma.conf.js      package-lock.json  src                tsconfig.json      tslint.json
..                 .git               README.md          dist               node_modules       package.json       tsconfig.app.json  tsconfig.spec.json

# リポジトリを紐付けて確認
$ git remote add origin https://github.com/uzimihsr/angular-first-app.git
$ git remote -v
origin	https://github.com/uzimihsr/angular-first-app.git (fetch)
origin	https://github.com/uzimihsr/angular-first-app.git (push)

# 一旦commitしておく
$ git add .
$ git commit -m "initial commit"
この状態でAngularアプリをGitHub Pages用にビルドする.
今回は--output-pathオプションを指定しているのでビルドした成果物が dist ではなく別のディレクトリ docs に作成される.
また, https://[GitHubアカウント].github.io/[リポジトリ名]/ でアプリにアクセスできるように--base-hrefオプションもつけている.
# ビルド前の状態
$ ls
README.md          dist               node_modules       package.json       tsconfig.app.json  tsconfig.spec.json
angular.json       karma.conf.js      package-lock.json  src                tsconfig.json      tslint.json

# 成果物の出力先とアクセスされるときのパスを指定してビルド
$ ng build --prod --output-path docs --base-href /angular-first-app/
Generating ES5 bundles for differential loading...
ES5 bundle generation complete.

...
Date: 2020-05-04T05:50:14.401Z - Hash: 19cf3332dd4d450b70af - Time: 19395ms

# ビルド後の状態
$ ls
README.md          dist               karma.conf.js      package-lock.json  src                tsconfig.json      tslint.json
angular.json       docs               node_modules       package.json       tsconfig.app.json  tsconfig.spec.json

# GitHub Pages用に404ページを作成
$ cp docs/index.html docs/404.html
ここまでできたら, すべての変更をGitHubのリポジトリに反映する.
# すべての変更をcommitしてpush
$ git add .
$ git commit -m "build"
$ git push origin master
問題なくpushできたので次にGitHub Pagesの設定を行う.
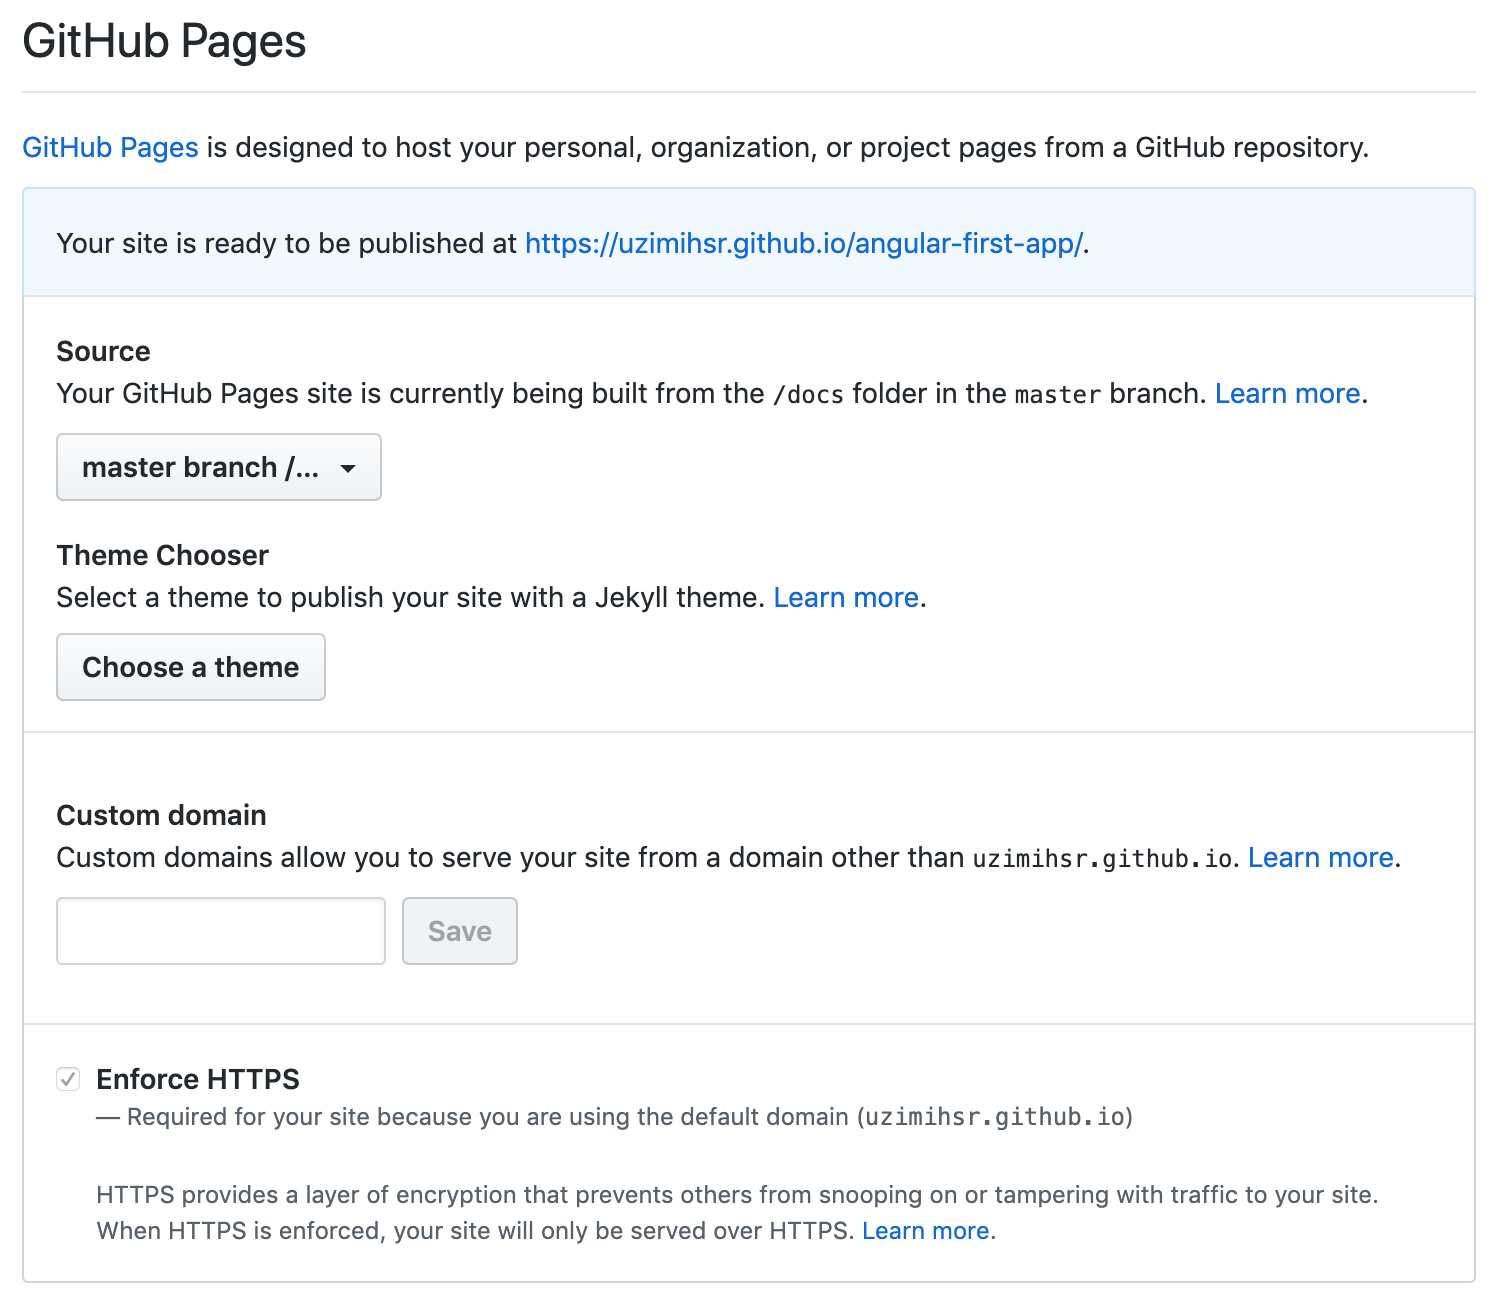
ブラウザでリポジトリのsettingsを開く.GitHub Pagesの設定でSourceをmaster branch /docs folderに変更する.
これにより docs の内容がGitHub Pagesとして公開される.
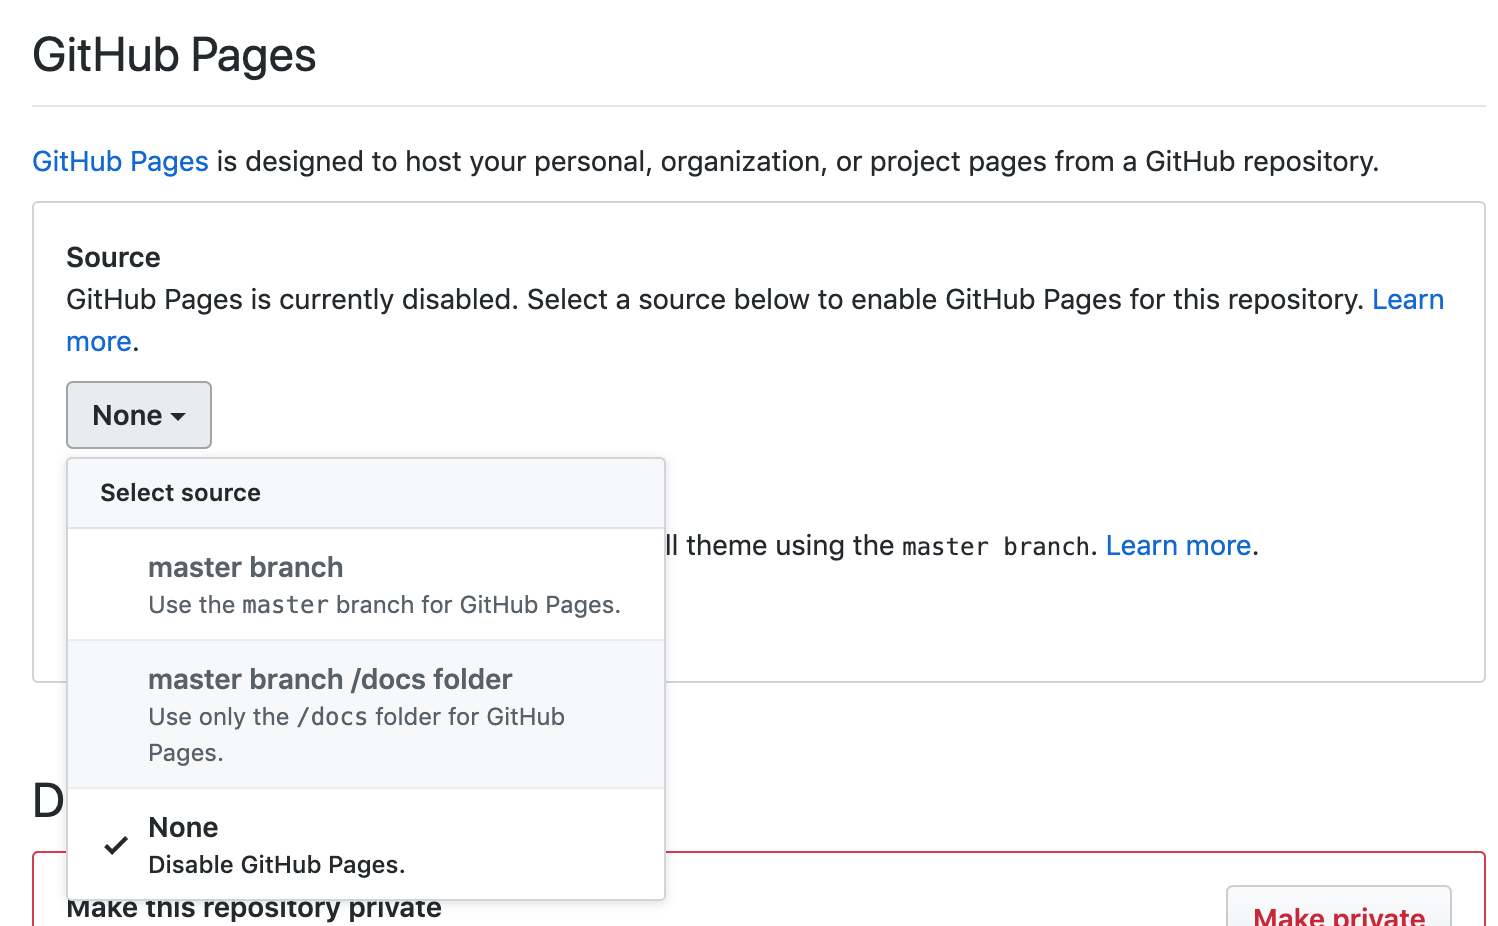
設定反映後以下のようになっていればOK.
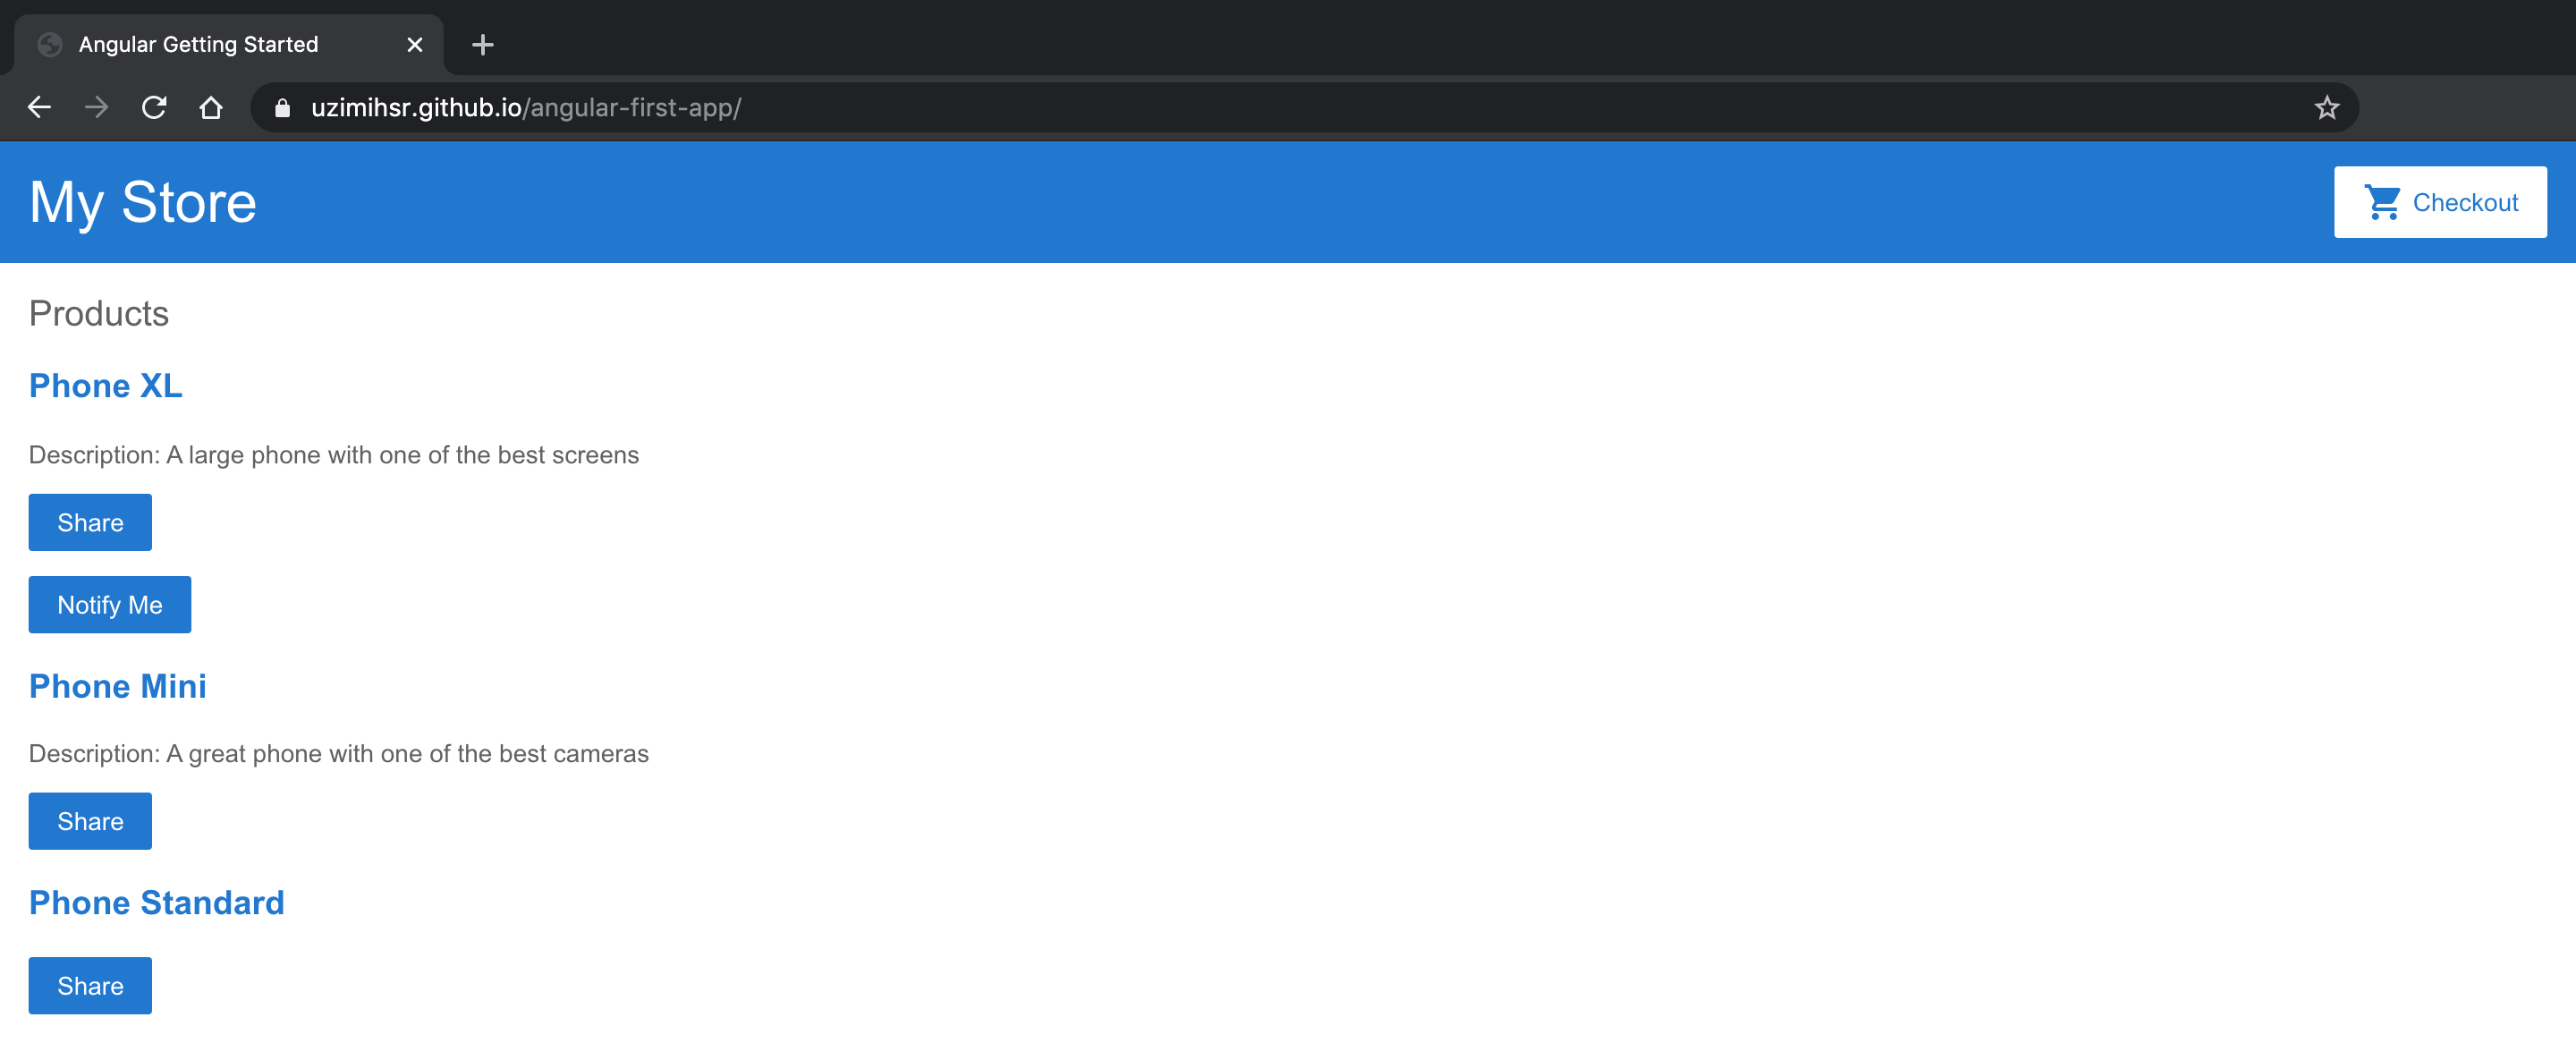
ブラウザで https://uzimihsr.github.io/angular-first-app/ を開くと,ng serveしたときやnginxでデプロイしたときと同じアプリがGitHub Pagesで公開されているのが確認できる.
パッケージを利用する場合
angular-cli-ghpagesを使うことで,
手動でやる場合よりも簡単にデプロイできる.
最初に1回手動でデプロイしたあとはこっちの方法でデプロイするのがよさそうなので,
手動でやる場合で作成したリポジトリをそのまま利用する.
やることとしてはGitHub Pagesにデプロイする用のパッケージangular-cli-ghpagesを追加して,ng deployするだけ. かんたん.
# リモートリポジトリの確認
$ cd angular-first-app
$ git remote -v
origin https://github.com/uzimihsr/angular-first-app.git (fetch)
origin https://github.com/uzimihsr/angular-first-app.git (push)
# パッケージを追加
$ ng add angular-cli-ghpages
Installing packages for tooling via npm.
Installed packages for tooling via npm.
UPDATE angular.json (3753 bytes)
# デプロイ
$ ng deploy --base-href=/angular-first-app/
📦 Building "angular.io-example". Configuration: "production". Your base-href: "/angular-first-app/"
Generating ES5 bundles for differential loading...
ES5 bundle generation complete.
...
Date: 2020-05-04T06:45:54.460Z - Hash: 19cf3332dd4d450b70af - Time: 20338ms
👨🚀 Uploading via git, please wait...
🚀 Successfully published via angular-cli-ghpages! Have a nice day!
# リモートリポジトリにmasterブランチの他にgh-pagesブランチが作成されている
$ git branch -a
* master
remotes/origin/gh-pages
remotes/origin/master
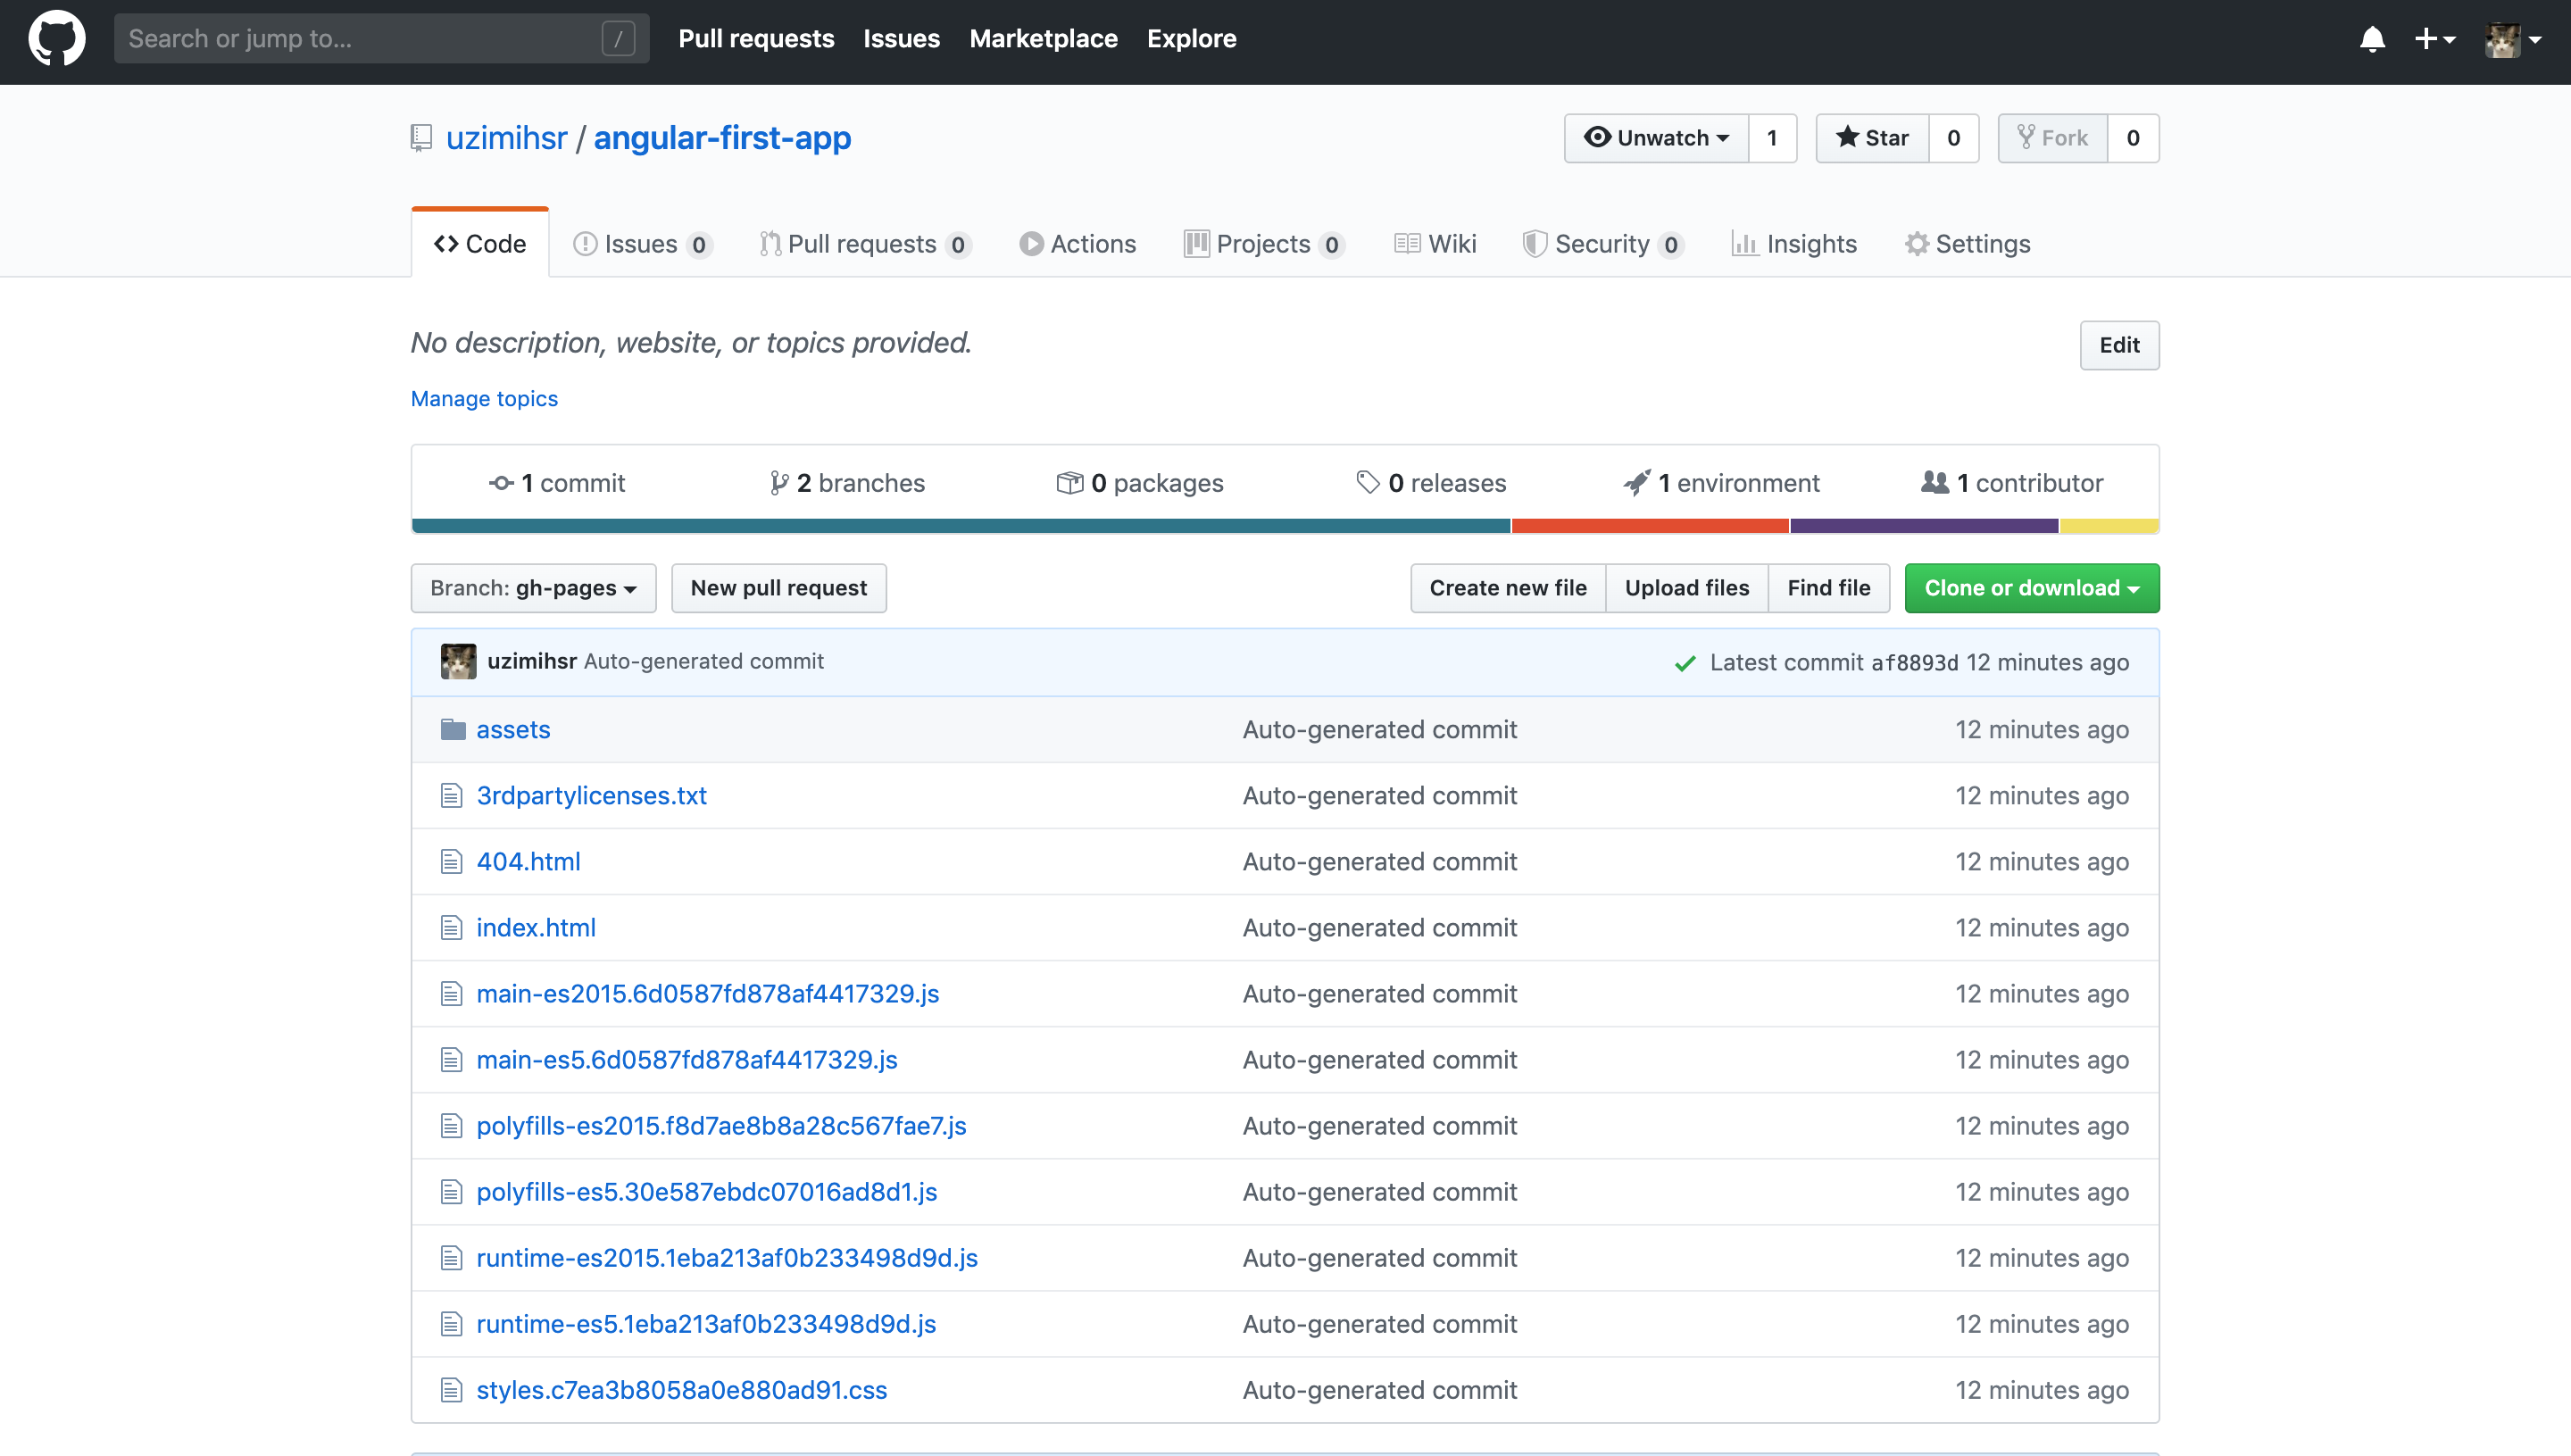
ng deployが成功するとリポジトリに新しく gh-pages ブランチが作成されている.
https://github.com/uzimihsr/angular-first-app/tree/gh-pages
中身を見ればなんとなくわかるが, 手動でやる場合でビルドした docs の中身と同じものがブランチの直下に作成されている.
commitとpushも自動でやってくれてるっぽい.
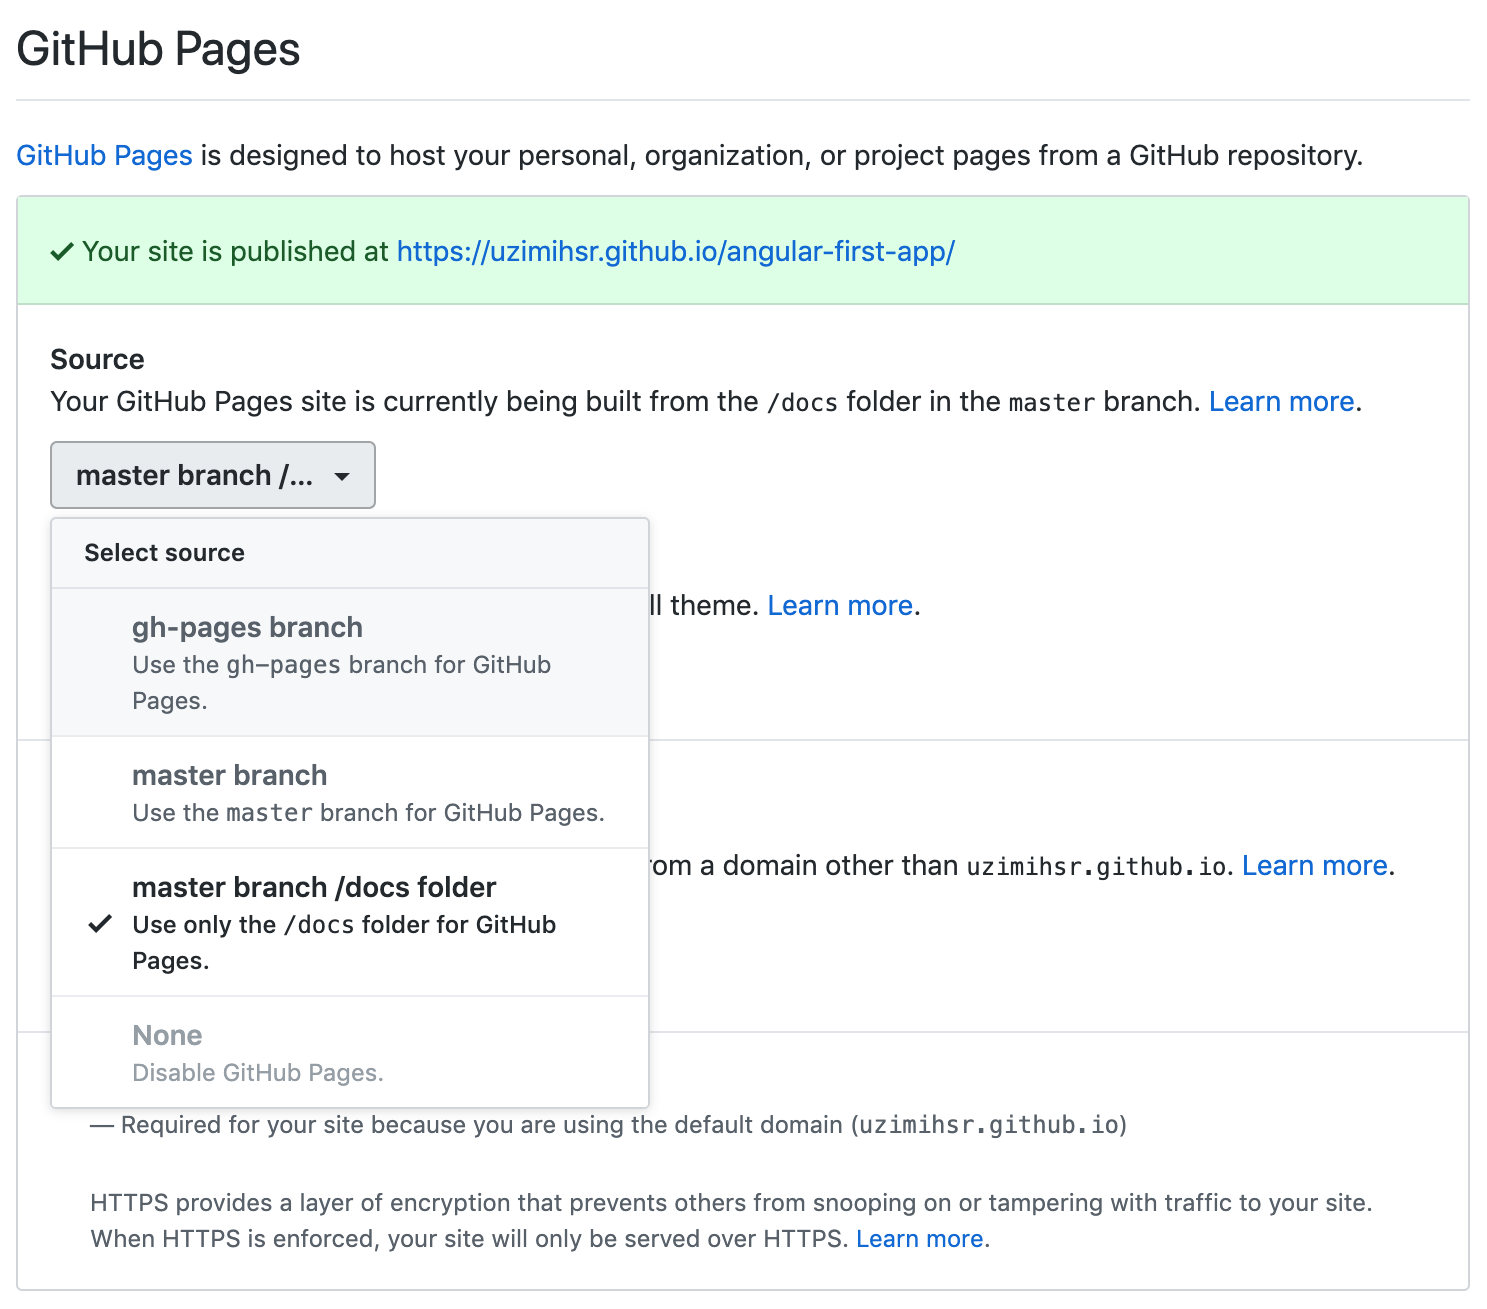
この gh-pages ブランチをGitHub Pagesとして公開するために再度設定を行う.
ブラウザでリポジトリのsettingsを開く.GitHub Pagesの設定でSourceをgh-pages branchに変更する.
設定反映後以下のようになっていればOK.
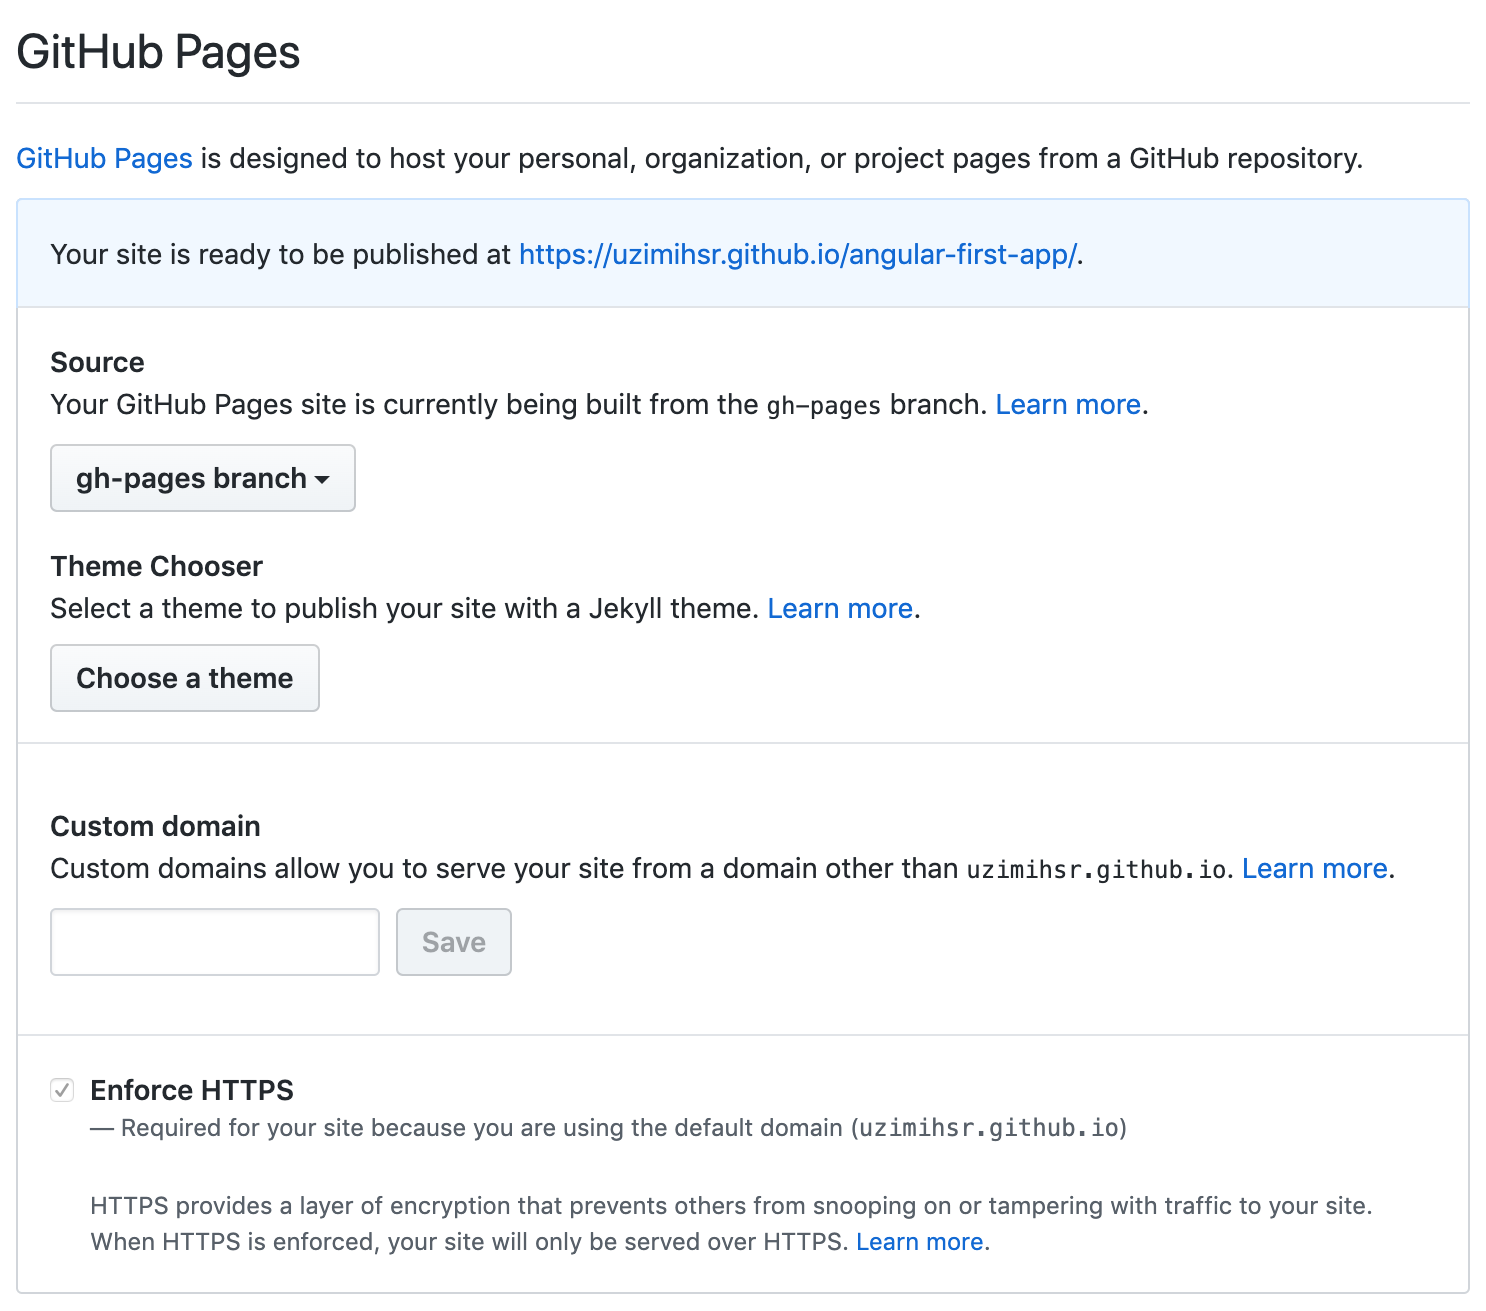
再度ブラウザで https://uzimihsr.github.io/angular-first-app/ を開くと,
これまでと同じアプリがGitHub Pagesで公開されているのが確認できる.

これでGitHub Pagesへのデプロイが簡単になった.
やったぜ.
おわり
以上の手順でAngularのアプリをnginxやGitHub Pagesに公開することができた.
基本的にはローカルでつくったものをng serveで動作確認して,
問題なければng deployでGitHub Pagesにデプロイ,
もしくはng buildでビルドしたものを本番環境(nginx)にデプロイするという流れで開発ができそう.
これで一通り開発のやり方もわかったのでフロントエンド開発をがんばっていきたい.
おまけ

参考
- Angularアプリのビルド
- nginxでデプロイ
- GitHub Pagesにデプロイ
- https://angular.jp/guide/deployment#deploy-to-github-pages
- https://help.github.com/en/github/working-with-github-pages/configuring-a-publishing-source-for-your-github-pages-site
- https://www.npmjs.com/package/angular-cli-ghpages#-quick-start-local-development
- https://www.npmjs.com/package/angular-cli-ghpages#--base-href