Googleサイコー
Kubernetesを完全に理解したくて買ったKubernetes完全ガイドをざっと読んだらGKE使ってるっぽかったので, 元々興味もあったし事前準備としてGKEを試してみた.
やったことのまとめ
- Google Kubernetes Engine(GKE)の無料トライアルを始めた
- GKEで
Kubernetesクラスタを構築してアプリをデプロイ, 公開した後クラスタを削除した
GKEってなに?
GCPが提供してる超便利なマネージドKubernetesサービス.
すっげえ簡単にクラスタの構築, 管理ができるらしい.
やったこと
動作環境
- masOS Mojave 10.14
GCPの利用を開始する
https://cloud.google.com/kubernetes-engine/ にアクセス.無料トライアルを押す.
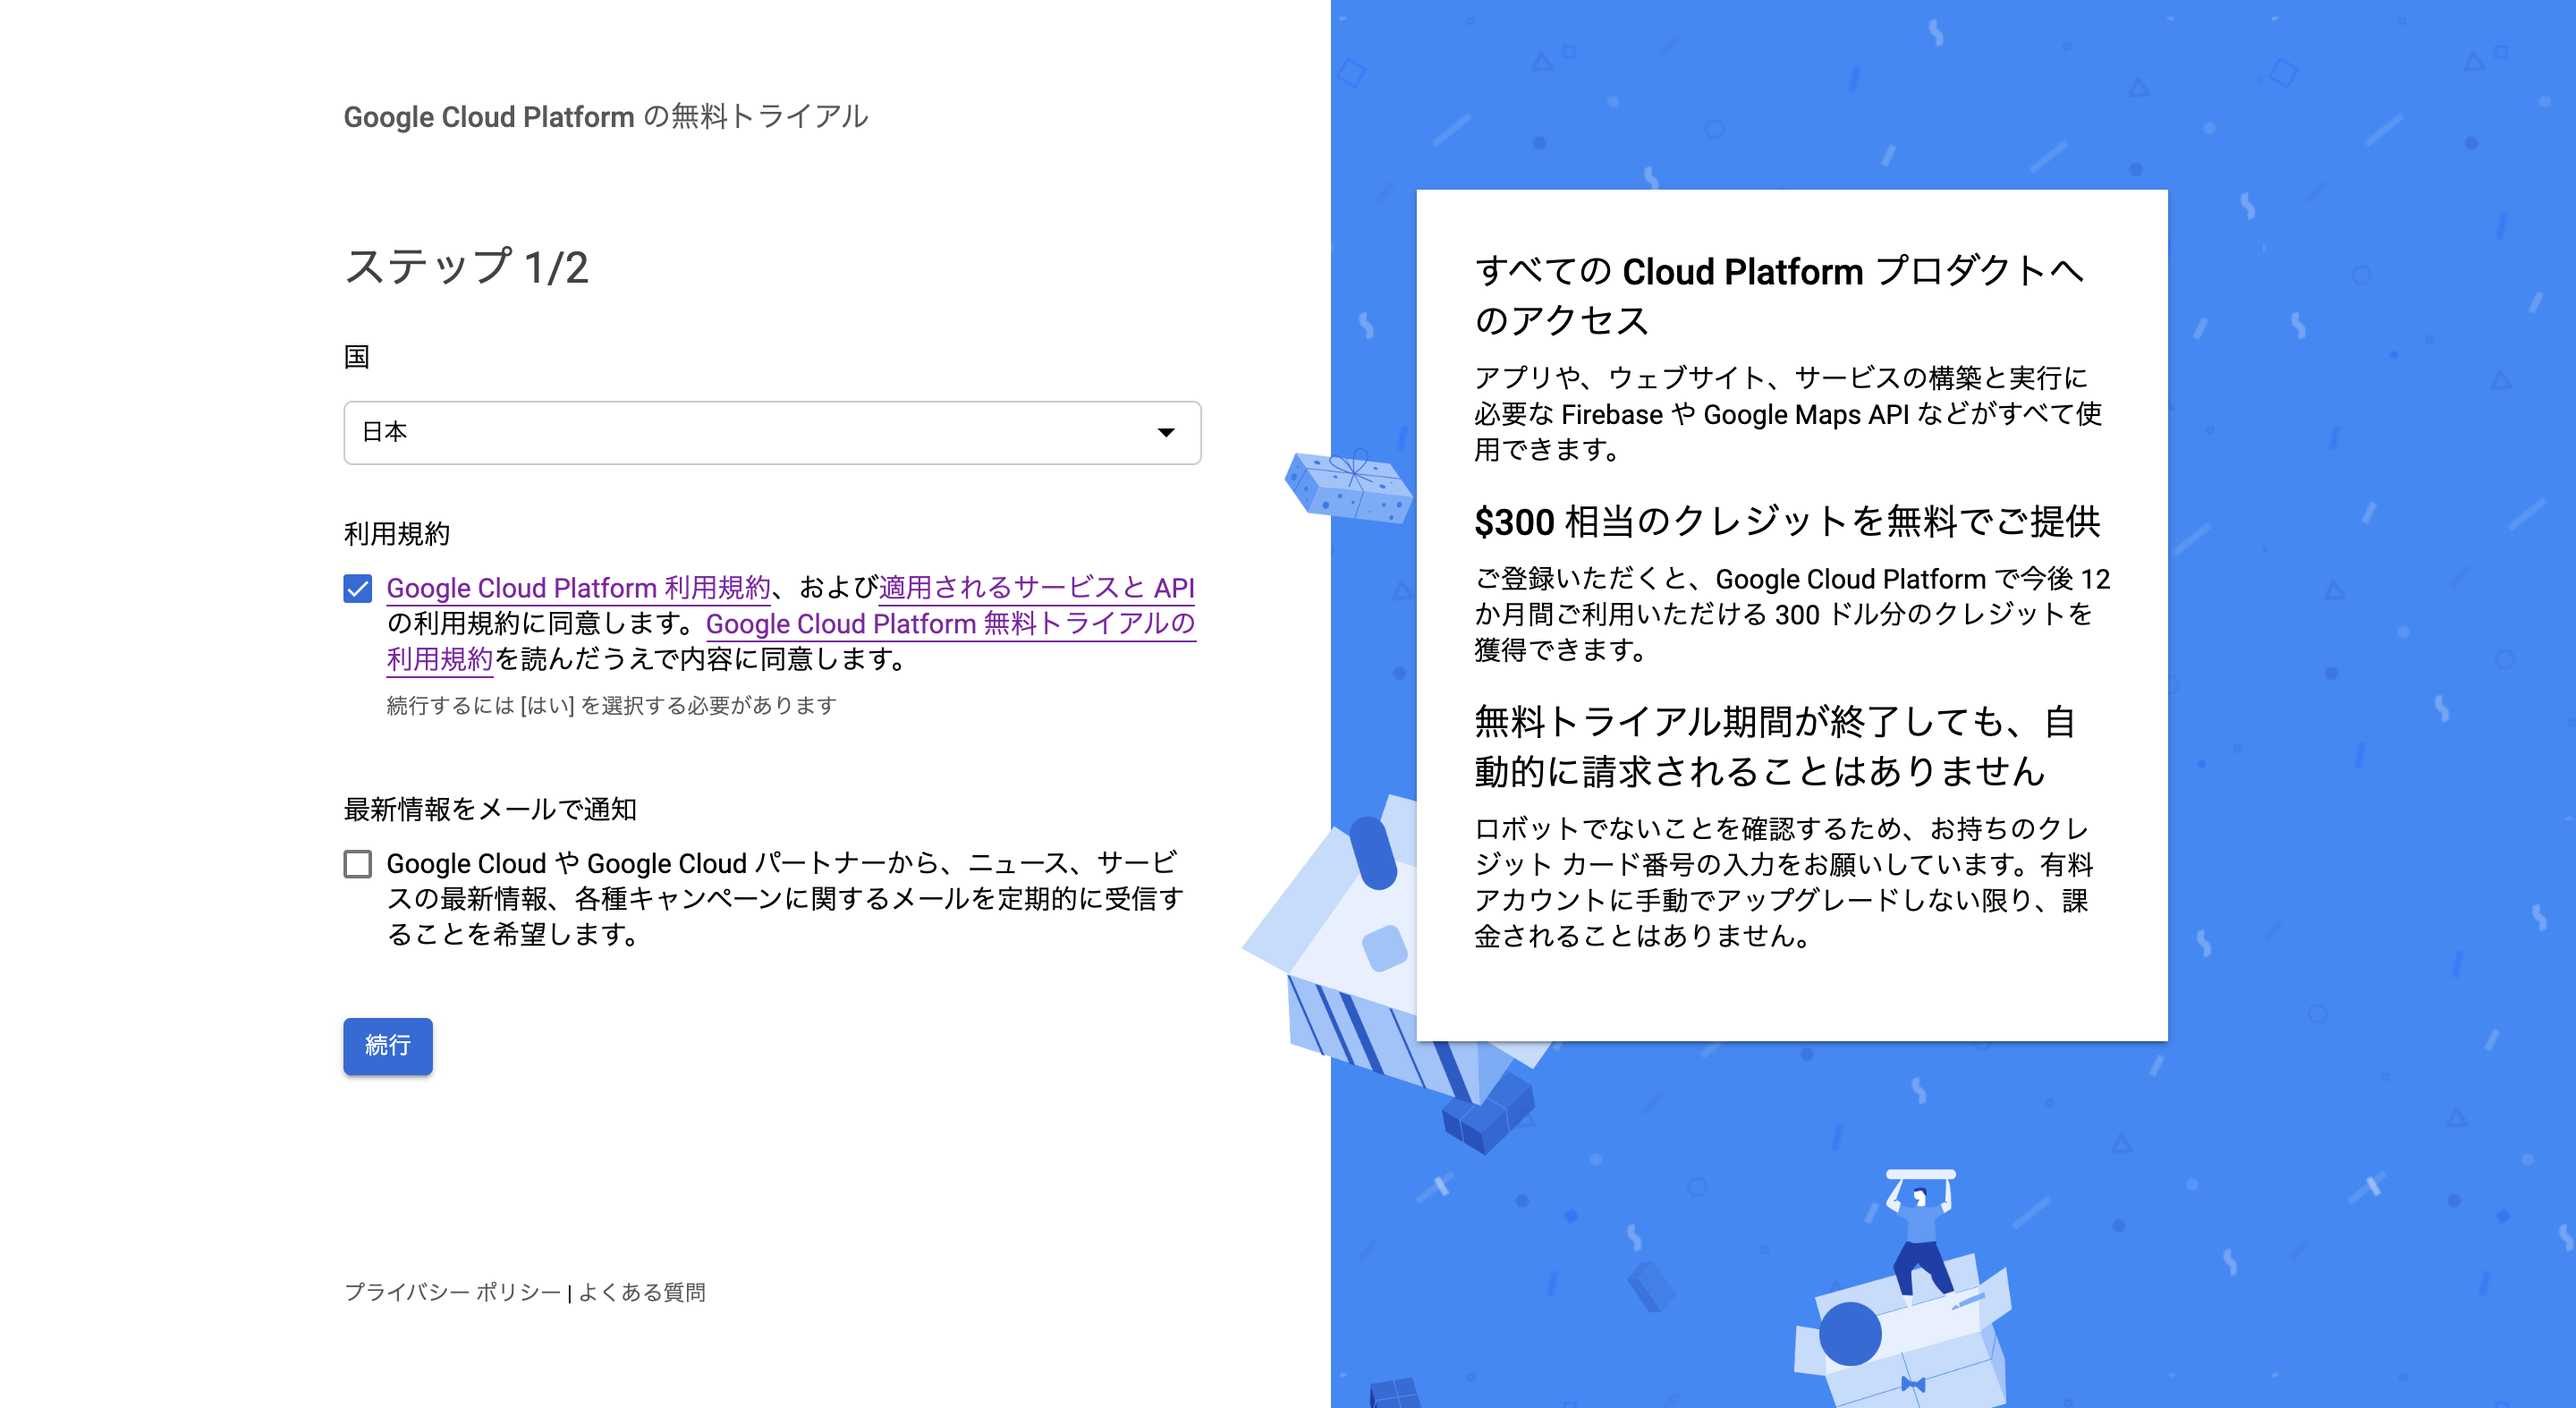
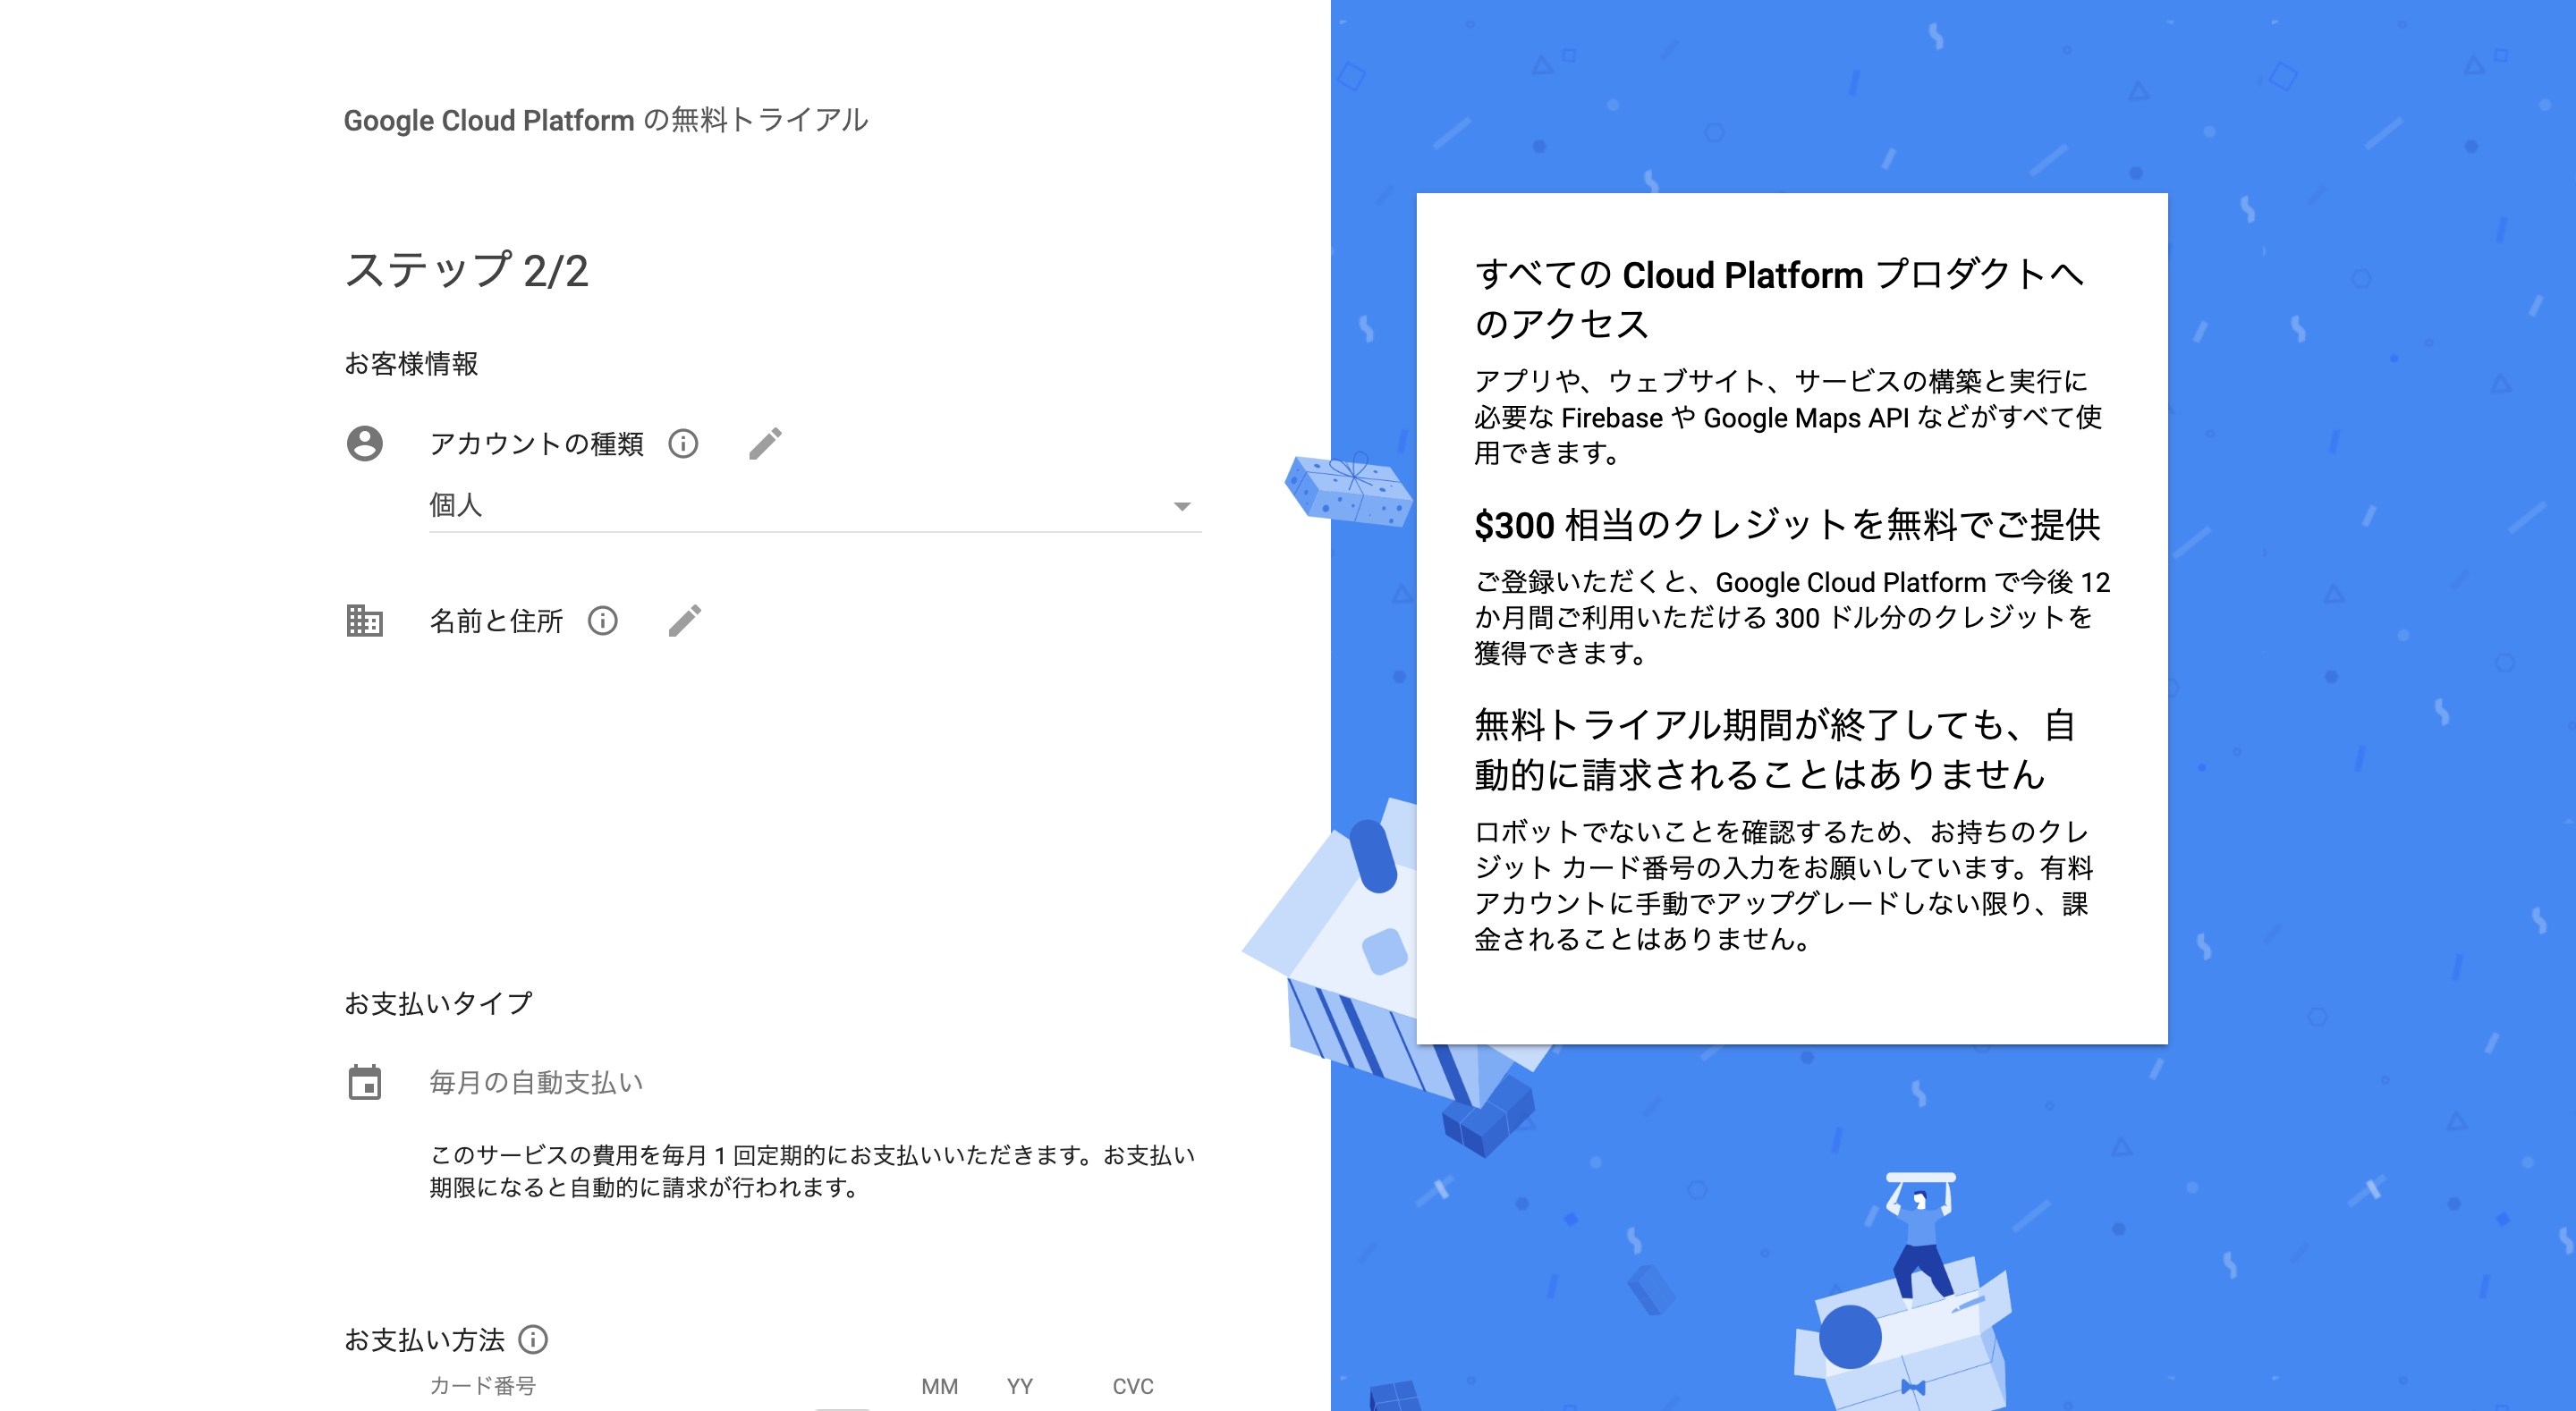
利用規約の承諾とか住所とか支払い方法を入力して無料トライアルを開始(スクショには映ってないけどお支払い方法の下にある)を押す.
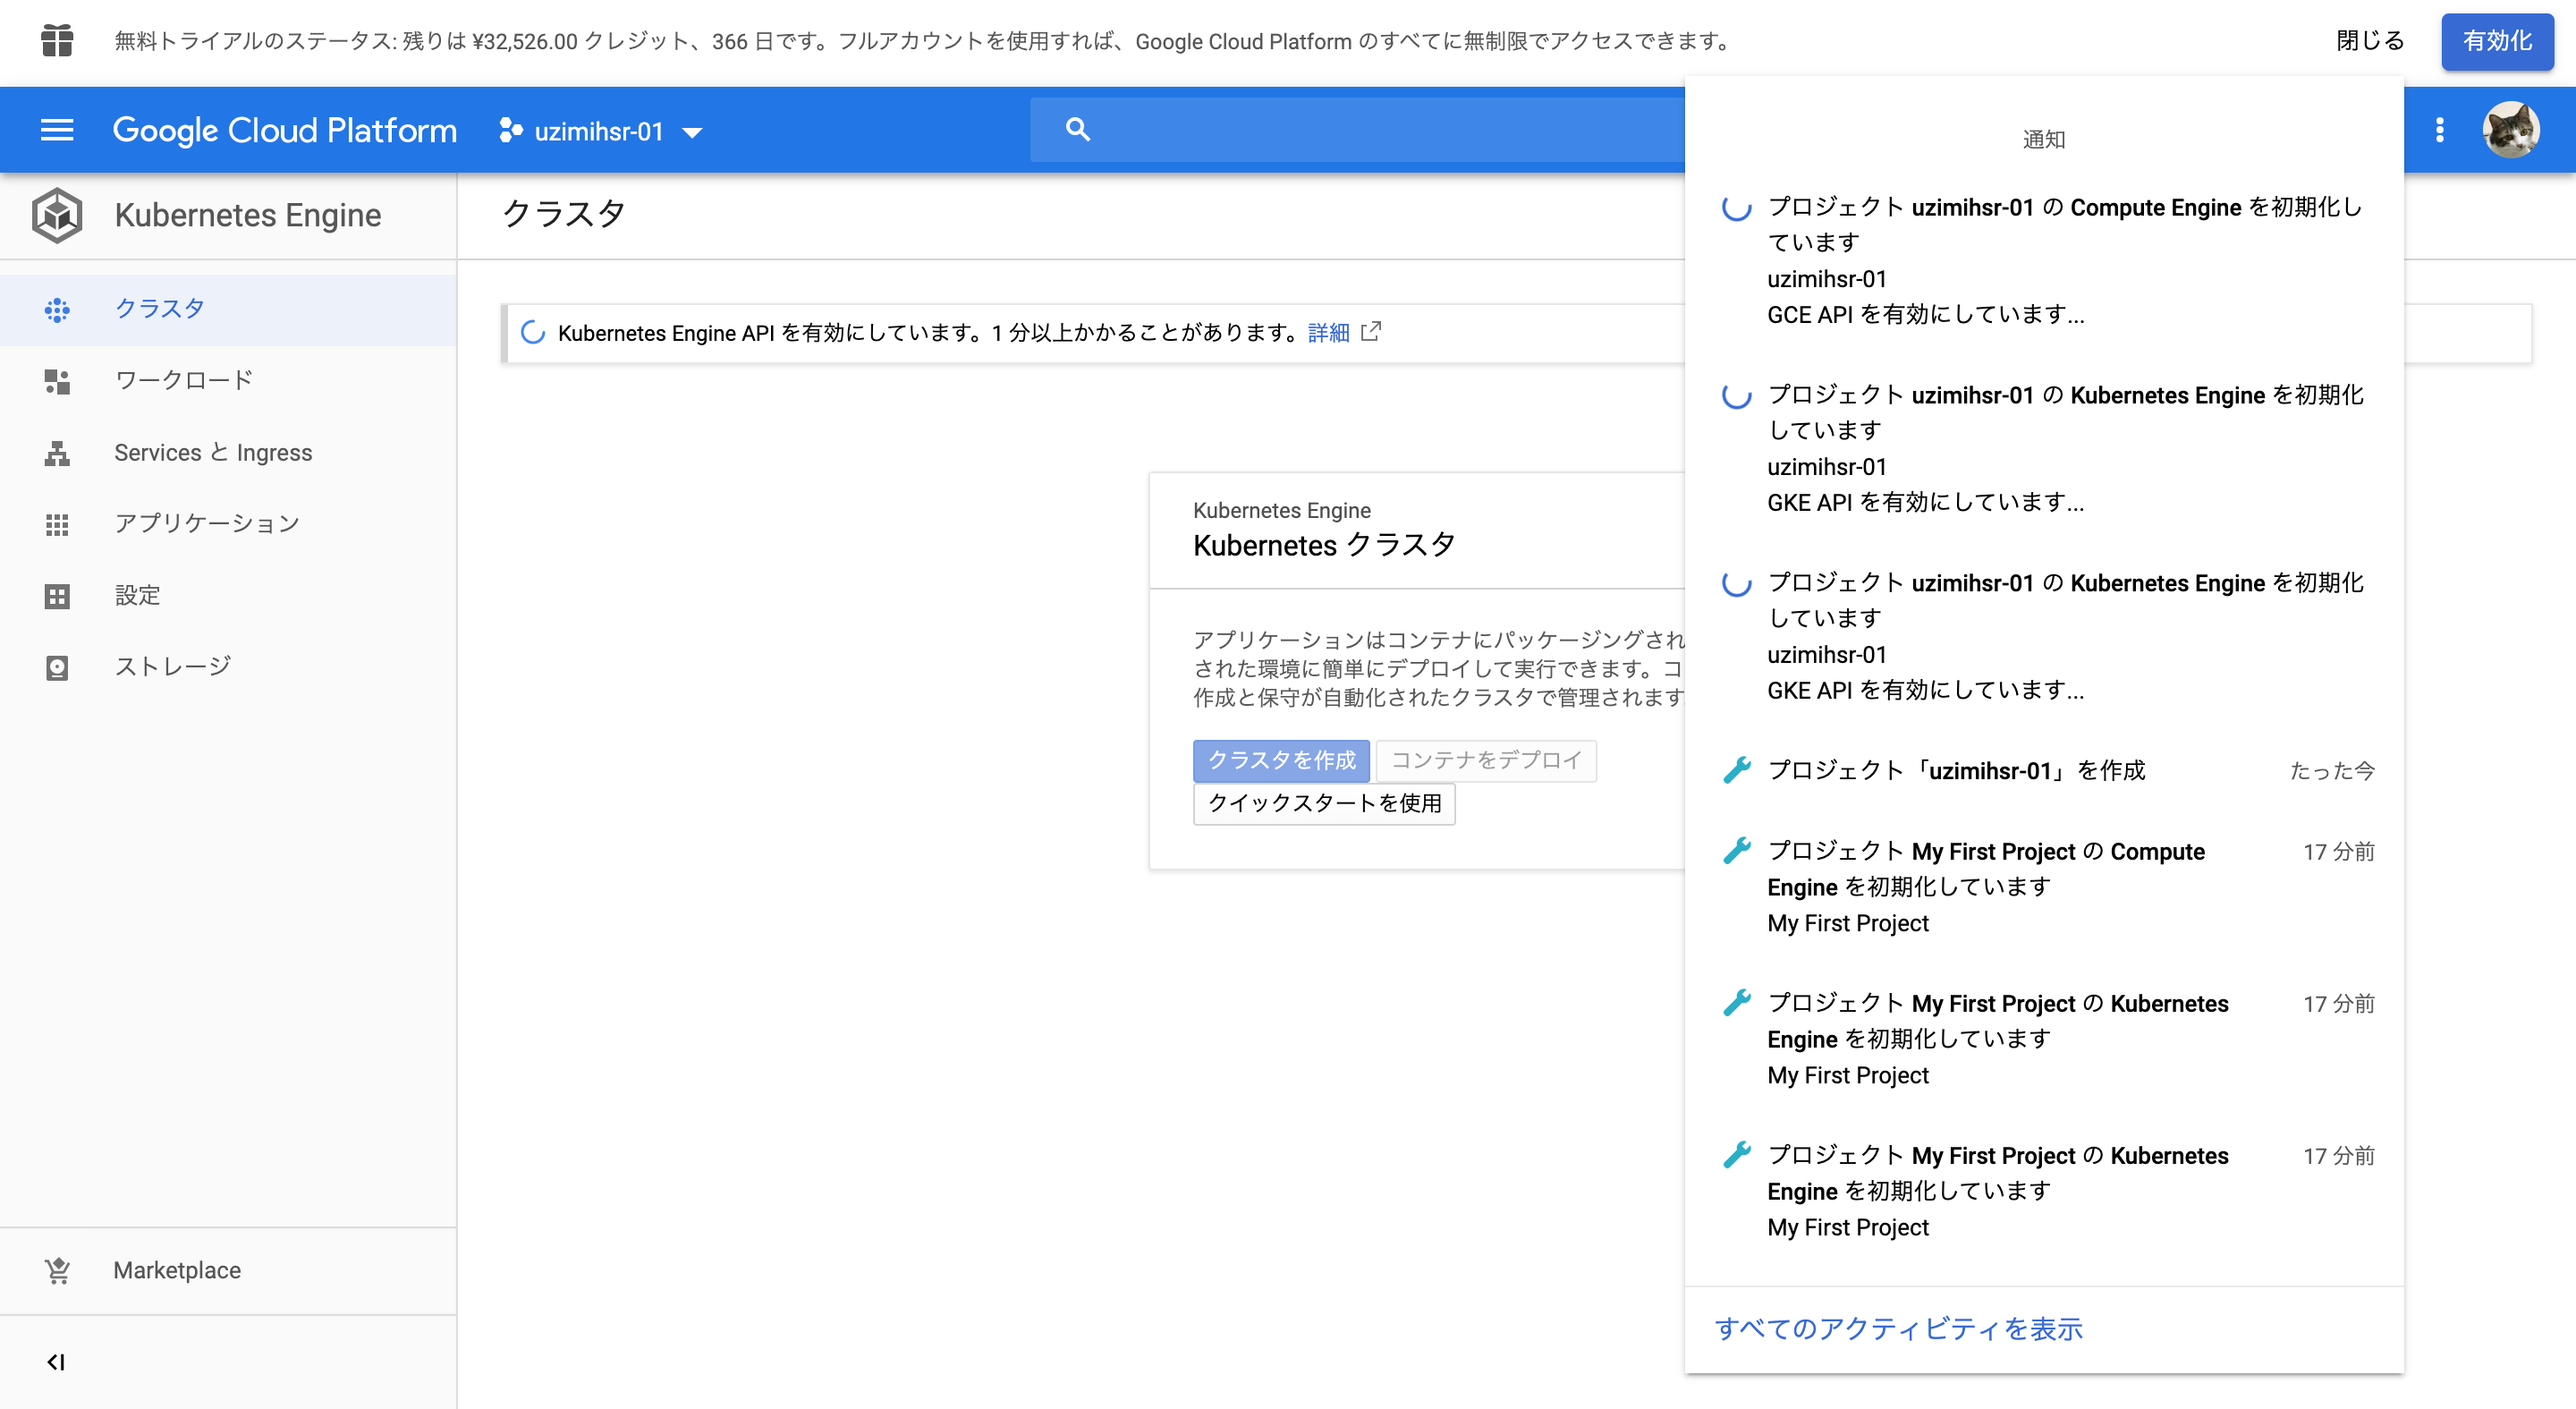
GCPコンソールのGKEの画面に遷移して, Kubernetes Engine API(たぶんGKEのAPI)の有効化が始まる.
ちょっと待つと準備が完了して, デフォルトで作成されたプロジェクト(My First Project)でKubernetesクラスタが作れるようになる.


このままこのプロジェクトでクラスタ構築して始められそうなんだけど,
初心者なので今回は敢えてクイックスタートの手順で新たにプロジェクトを作成してCLIからクラスタを構築してみる.
プロジェクトの作成
再度GKEの画面を開く.
ヘッダーからプロジェクトの選択->新しいプロジェクトと進む.
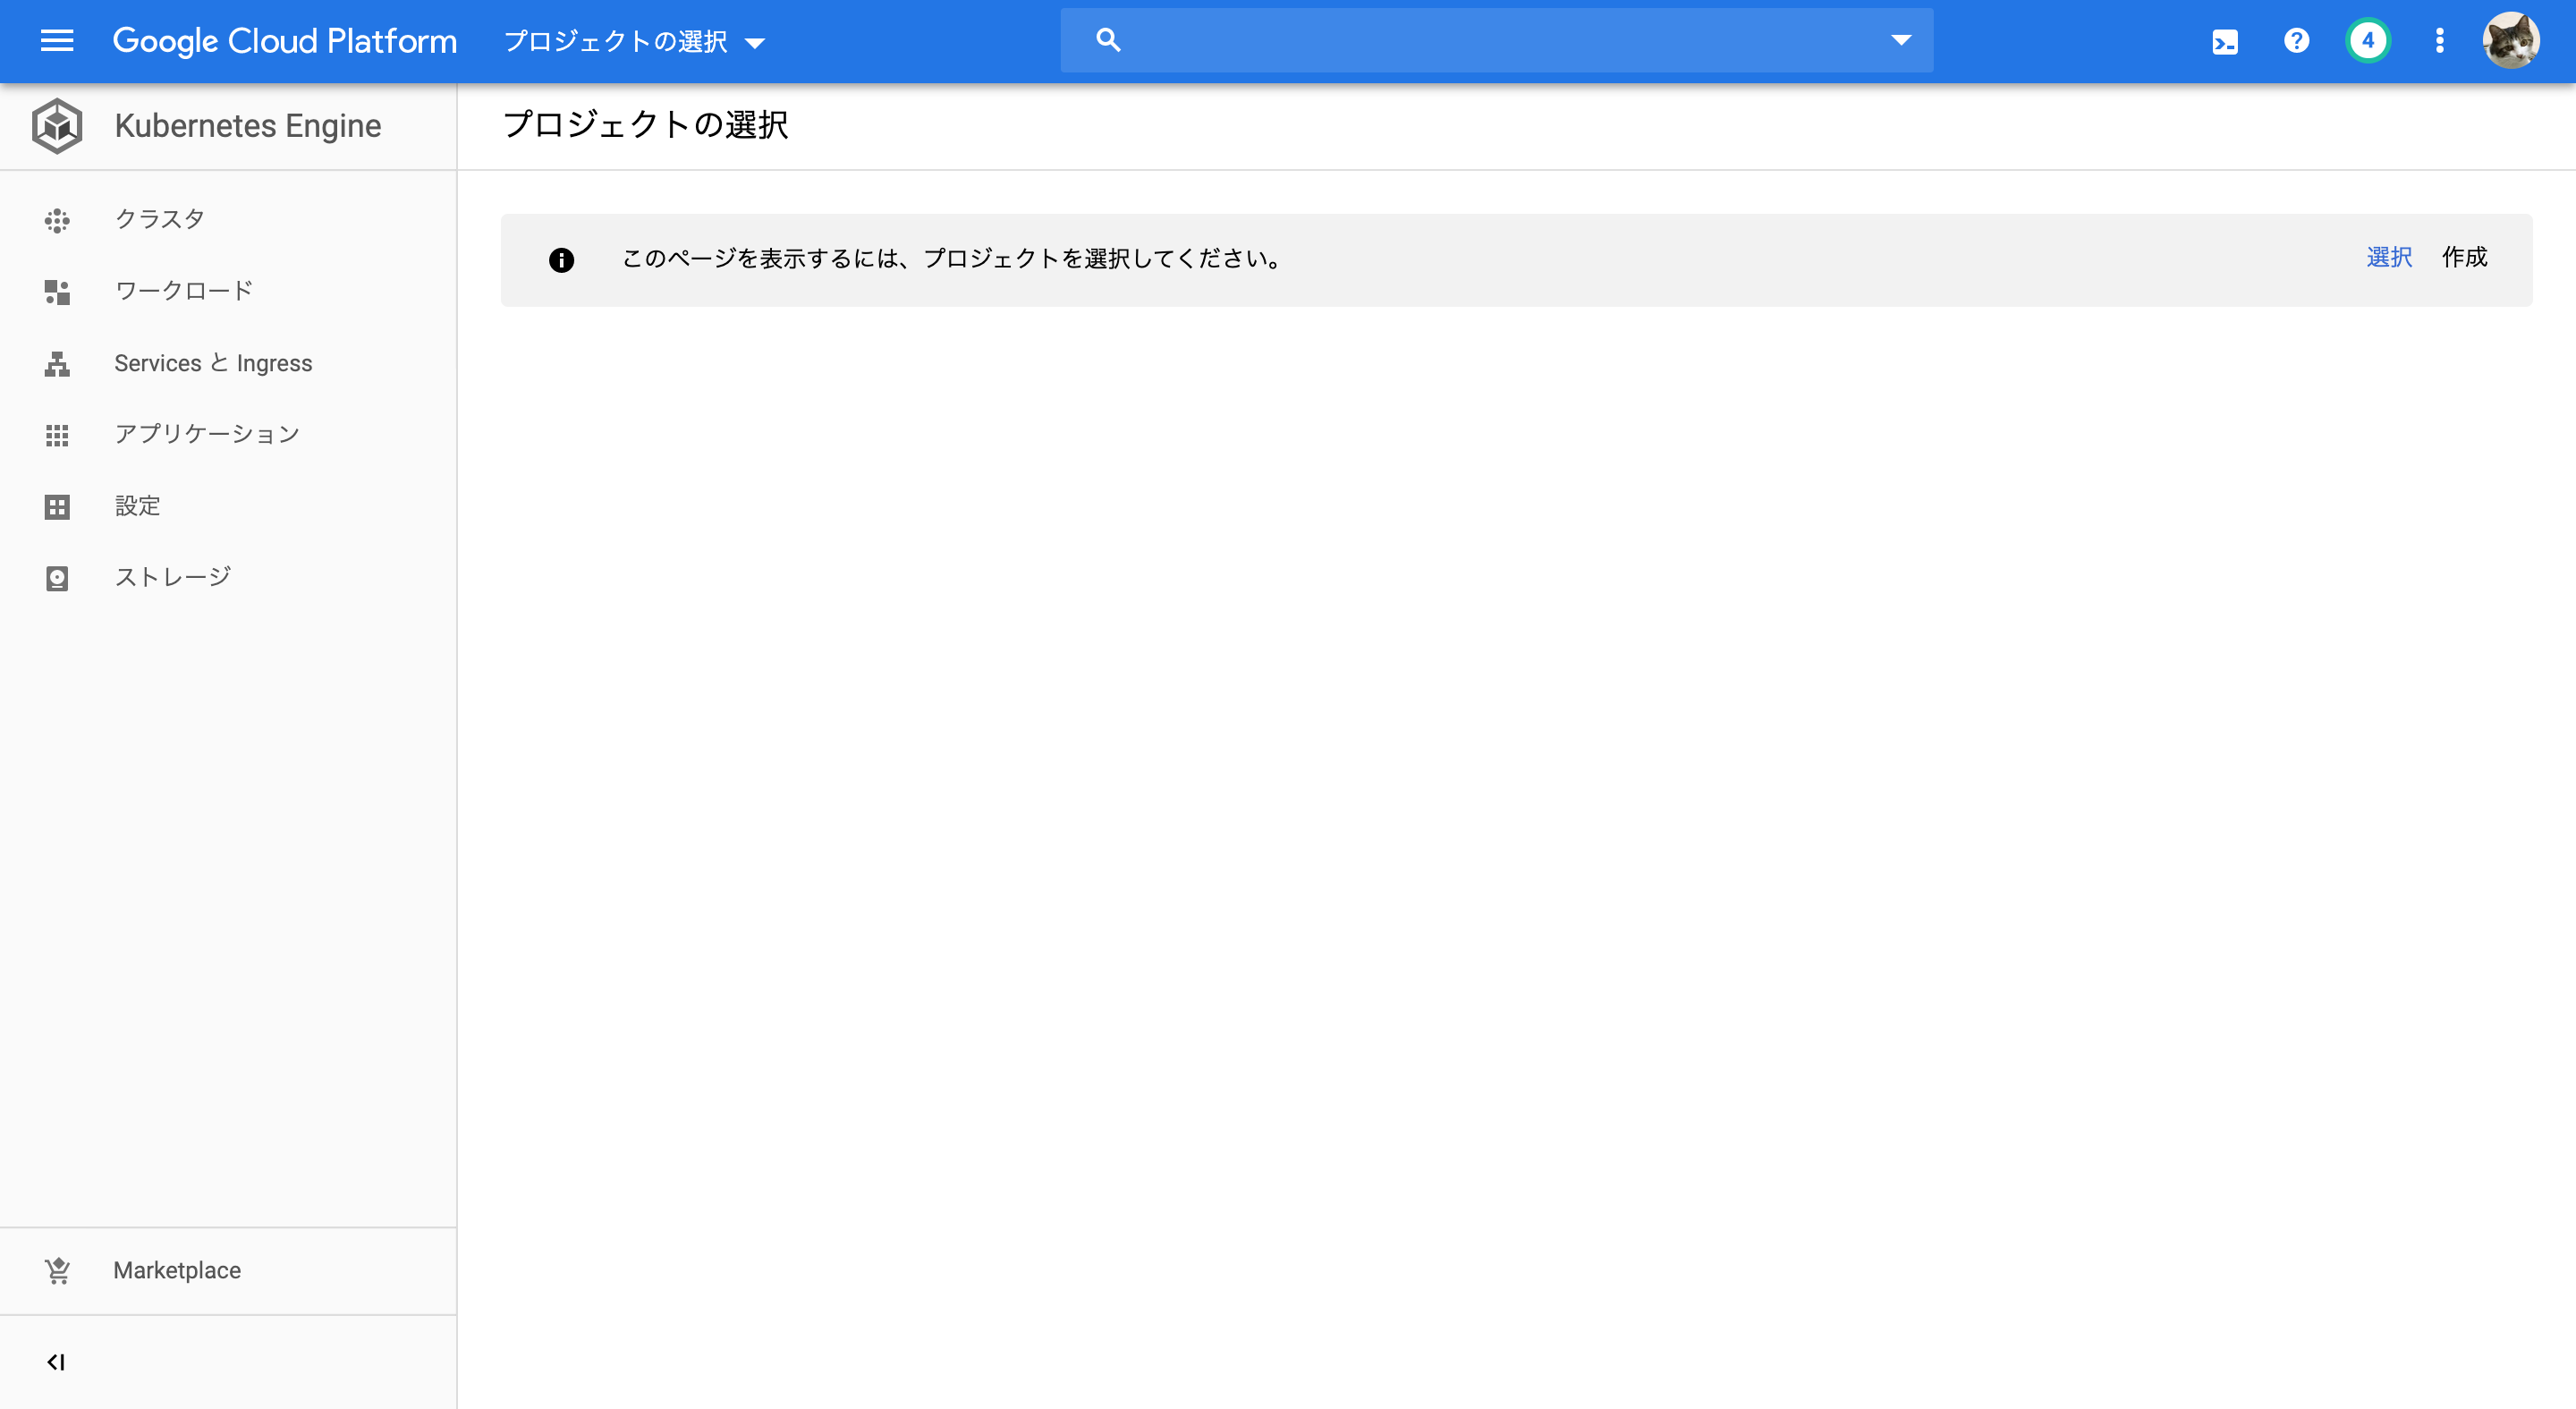
プロジェクト作成画面が開くので, プロジェクト名(uzimihsr-01)だけ入力して作成を押す.

またまたGKEの画面に遷移して先程と同様にKubernetes Engine APIの有効化が始まり, 少し待つと有効になる.
無料トライアルの開始時とやってることは一緒.

Google Cloud SDKのインストール
macOS 用のクイックスタートに従ってGoogle Cloud SDKとgcloudをインストールする.
まずはシステムにPython 2.7がインストールされていることを確認.
自分は普段システム(/usr/bin/python)じゃなくてHomebrewで入れたPython 2.7を使っているけど,
とにかくバージョン2.7のPythonにパスが通ってればいいみたい.
# pythonのバージョン確認
$ which python
/usr/local/bin/python
$ python -V
Python 2.7.16
macOS 64bit用のgoogle-cloud-sdk-245.0.0-darwin-x86_64.tar.gzをダウンロード.
ホームディレクトリに移動して展開しておく.
# ホームディレクトリにgoogle-cloud-sdkが配置されていることを確認
$ pwd
/Users/<ユーザ名>
$ ls
...
google-cloud-sdk
...
インストールスクリプトinstall.shを実行してgcloudコマンドをインストールする.
途中でデータ収集に協力するか, とかCLIのPATHを通すかとか聞かれるので前者はNo, 後者はYesと答える.
# インストールスクリプトの実行
$ ./google-cloud-sdk/install.sh
Welcome to the Google Cloud SDK!

To help improve the quality of this product, we collect anonymized usage data
and anonymized stacktraces when crashes are encountered; additional information
is available at <https://cloud.google.com/sdk/usage-statistics>. You may choose
to opt out of this collection now (by choosing 'N' at the below prompt), or at
any time in the future by running the following command:

    gcloud config set disable_usage_reporting true

Do you want to help improve the Google Cloud SDK (Y/n)?  n


Your current Cloud SDK version is: 245.0.0
The latest available version is: 272.0.0

┌───────────────────────────────────────────────────────────────────────────────────────────────────────────────┐
│                                                   Components                                                  │
├──────────────────┬──────────────────────────────────────────────────────┬──────────────────────────┬──────────┤
│      Status      │                         Name                         │            ID            │   Size   │
├──────────────────┼──────────────────────────────────────────────────────┼──────────────────────────┼──────────┤
│ Update Available │ BigQuery Command Line Tool                           │ bq                       │  < 1 MiB │
│ Update Available │ Cloud SDK Core Libraries                             │ core                     │ 12.5 MiB │
│ Update Available │ Cloud Storage Command Line Tool                      │ gsutil                   │  3.6 MiB │
│ Not Installed    │ App Engine Go Extensions                             │ app-engine-go            │  4.8 MiB │
│ Not Installed    │ Appctl                                               │ appctl                   │ 18.6 MiB │
│ Not Installed    │ Cloud Bigtable Command Line Tool                     │ cbt                      │  7.3 MiB │
│ Not Installed    │ Cloud Bigtable Emulator                              │ bigtable                 │  6.6 MiB │
│ Not Installed    │ Cloud Datalab Command Line Tool                      │ datalab                  │  < 1 MiB │
│ Not Installed    │ Cloud Datastore Emulator                             │ cloud-datastore-emulator │ 18.4 MiB │
│ Not Installed    │ Cloud Firestore Emulator                             │ cloud-firestore-emulator │ 40.0 MiB │
│ Not Installed    │ Cloud Pub/Sub Emulator                               │ pubsub-emulator          │ 34.9 MiB │
│ Not Installed    │ Cloud SQL Proxy                                      │ cloud_sql_proxy          │  3.7 MiB │
│ Not Installed    │ Emulator Reverse Proxy                               │ emulator-reverse-proxy   │ 14.5 MiB │
│ Not Installed    │ Google Cloud Build Local Builder                     │ cloud-build-local        │  5.9 MiB │
│ Not Installed    │ Google Container Registry s Docker credential helper │ docker-credential-gcr    │  1.8 MiB │
│ Not Installed    │ Skaffold                                             │ skaffold                 │ 44.0 MiB │
│ Not Installed    │ gcloud Alpha Commands                                │ alpha                    │  < 1 MiB │
│ Not Installed    │ gcloud Beta Commands                                 │ beta                     │  < 1 MiB │
│ Not Installed    │ gcloud app Java Extensions                           │ app-engine-java          │ 62.0 MiB │
│ Not Installed    │ gcloud app PHP Extensions                            │ app-engine-php           │ 21.9 MiB │
│ Not Installed    │ gcloud app Python Extensions                         │ app-engine-python        │  6.0 MiB │
│ Not Installed    │ gcloud app Python Extensions (Extra Libraries)       │ app-engine-python-extras │ 27.1 MiB │
│ Not Installed    │ kubectl                                              │ kubectl                  │  < 1 MiB │
└──────────────────┴──────────────────────────────────────────────────────┴──────────────────────────┴──────────┘
To install or remove components at your current SDK version [245.0.0], run:
  $ gcloud components install COMPONENT_ID
  $ gcloud components remove COMPONENT_ID

To update your SDK installation to the latest version [272.0.0], run:
  $ gcloud components update


To take a quick anonymous survey, run:
  $ gcloud alpha survey


Modify profile to update your $PATH and enable shell command
completion?

Do you want to continue (Y/n)?  y

The Google Cloud SDK installer will now prompt you to update an rc
file to bring the Google Cloud CLIs into your environment.

Enter a path to an rc file to update, or leave blank to use
[/Users/<ユーザ名>/.zshrc]:
Backing up [/Users/<ユーザ名>/.zshrc] to [/Users/<ユーザ名>/.zshrc.backup].
[/Users/<ユーザ名>/.zshrc] has been updated.

==> Start a new shell for the changes to take effect.


For more information on how to get started, please visit:
  https://cloud.google.com/sdk/docs/quickstarts

# シェルを再起動
$ exec $SHELL -l

# gcloudコマンドが使えるか確認
$ gcloud --version
Google Cloud SDK 245.0.0
bq 2.0.43
core 2019.05.03
gsutil 4.38
kubectl 2019.05.03
Updates are available for some Cloud SDK components.  To install them,
please run:
  $ gcloud components update
これでgcloudコマンドが使えるようになった.
次にSDKの初期化を行う.
ログインするか聞かれるのでYesと答えるとブラウザが開かれる.
# SDKの初期化
$ gcloud init
Welcome! This command will take you through the configuration of gcloud.

Your current configuration has been set to: [default]

You can skip diagnostics next time by using the following flag:
  gcloud init --skip-diagnostics

Network diagnostic detects and fixes local network connection issues.
Checking network connection...done.
Reachability Check passed.
Network diagnostic passed (1/1 checks passed).

You must log in to continue. Would you like to log in (Y/n)?  y

Your browser has been opened to visit:

    https://accounts.google.com/o/oauth2/auth?redirect_uri=...

# 勝手にブラウザが開く
Googleのログイン画面が表示されるので, 内容を読んで権限を許可する.
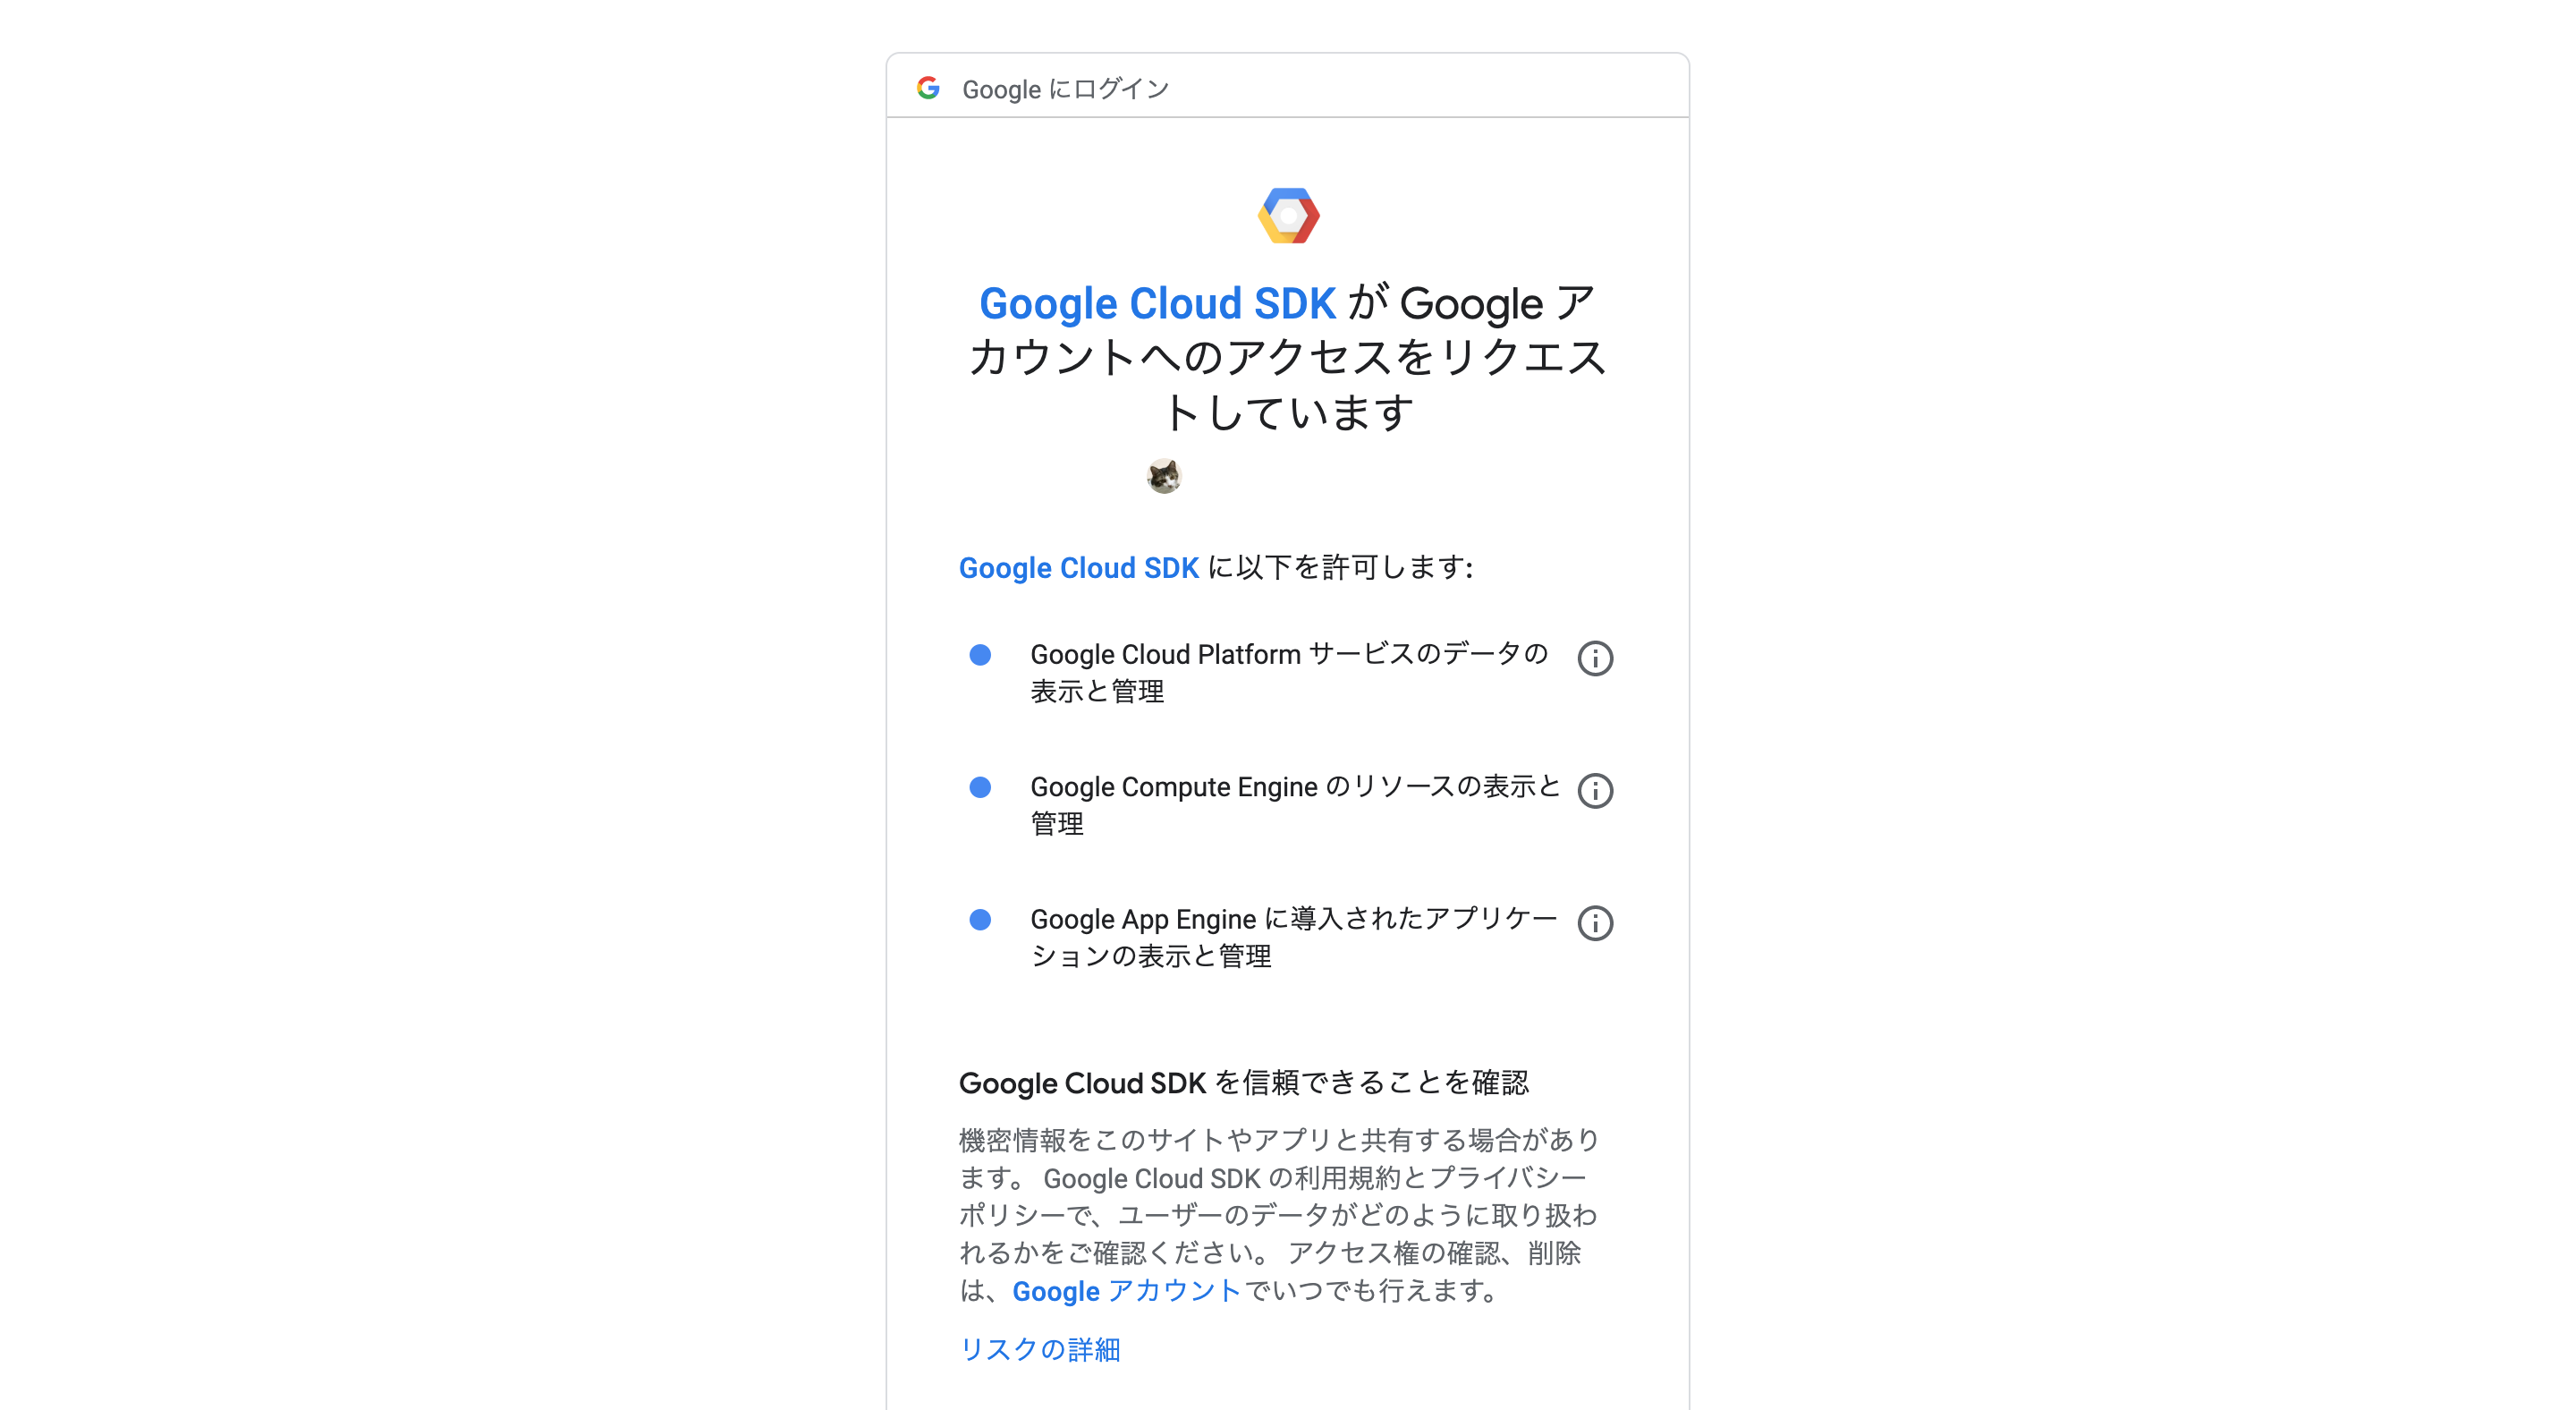
認証に成功すると画面遷移するので, ブラウザを閉じてターミナルに戻る.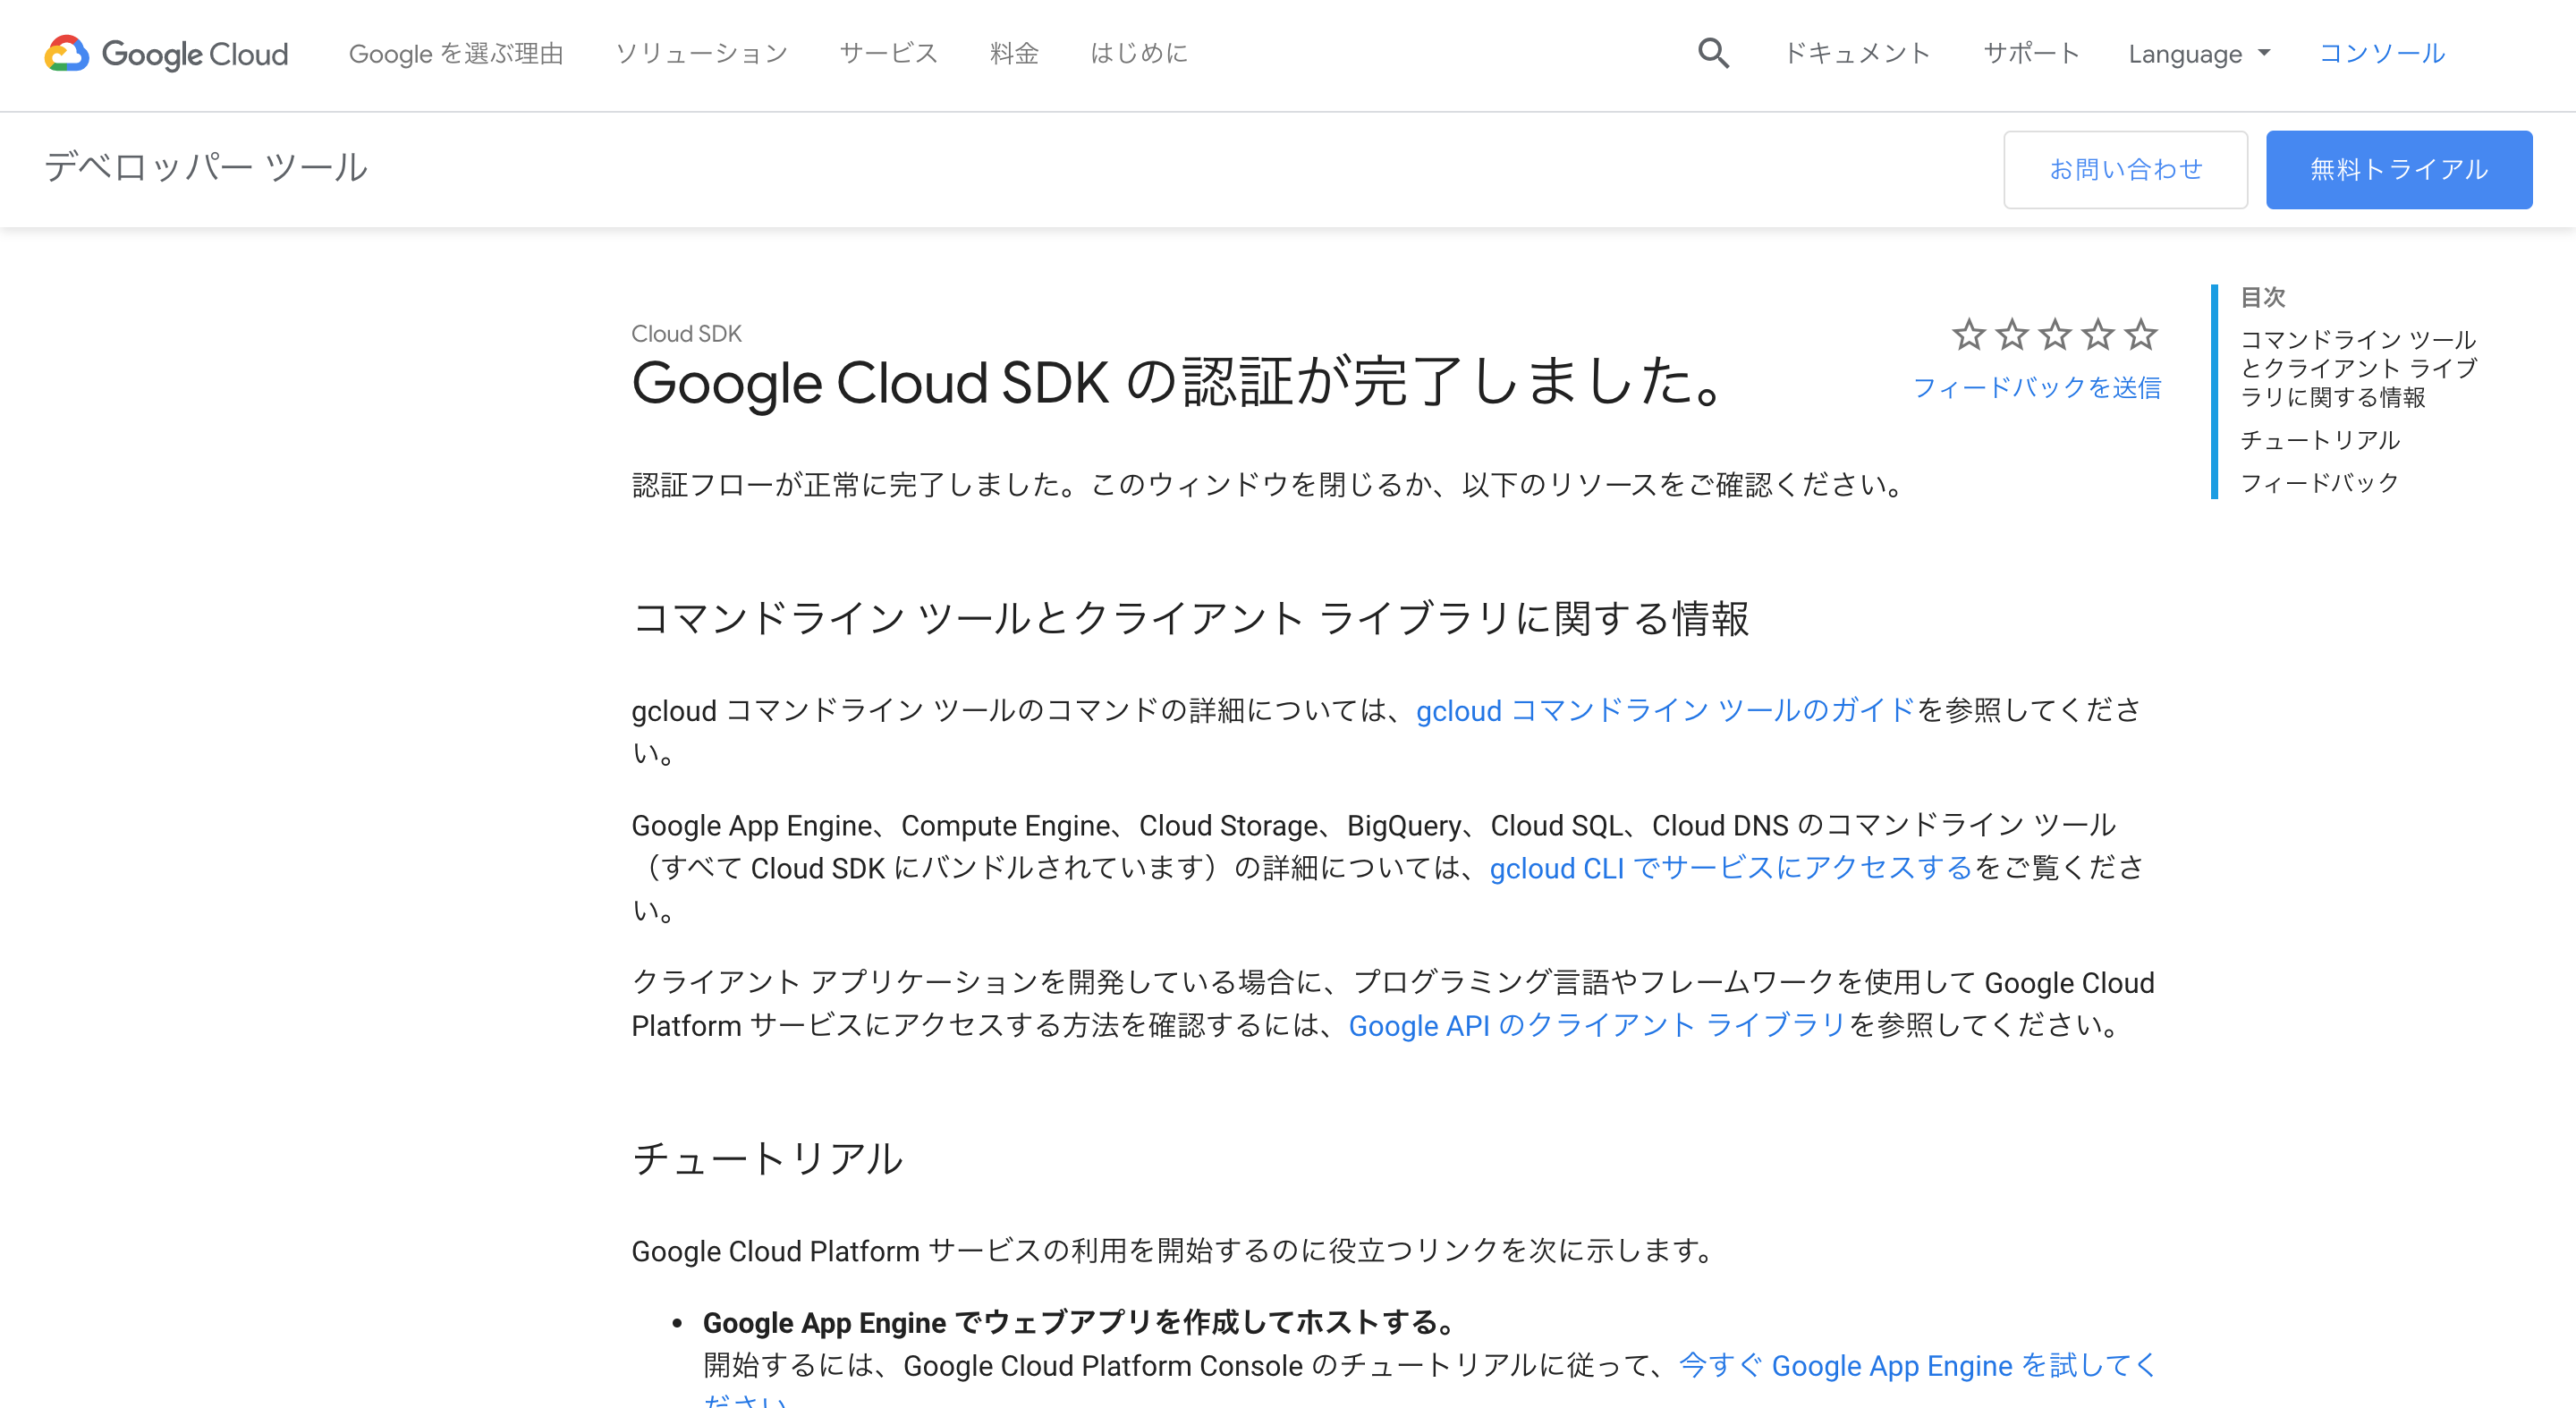
すると先程のダイアログの続きが表示されているので指示に従ってすすめる.
途中でどのプロジェクトを使うか聞かれるので, 先程作成したプロジェクト(uzimihsr-01)の番号を選択する.RegionとZoneの設定は後でもできるので今はNoにしておく.
# さっきのダイアログにつづきが表示されている
$ gcloud init
Welcome! This command will take you through the configuration of gcloud.

Your current configuration has been set to: [default]

You can skip diagnostics next time by using the following flag:
  gcloud init --skip-diagnostics

Network diagnostic detects and fixes local network connection issues.
Checking network connection...done.
Reachability Check passed.
Network diagnostic passed (1/1 checks passed).

You must log in to continue. Would you like to log in (Y/n)?  y

Your browser has been opened to visit:

    https://accounts.google.com/o/oauth2/auth?redirect_uri=...

Updates are available for some Cloud SDK components.  To install them,
please run:
  $ gcloud components update

You are logged in as: [[email protected]].

Pick cloud project to use:
 [1] nifty-catfish-259613
 [2] uzimihsr-01
 [3] Create a new project
Please enter numeric choice or text value (must exactly match list
item):  2

Your current project has been set to: [uzimihsr-01].

Do you want to configure a default Compute Region and Zone? (Y/n)?  n

Created a default .boto configuration file at [/Users/<ユーザー名>/.boto]. See this file and
[https://cloud.google.com/storage/docs/gsutil/commands/config] for more
information about configuring Google Cloud Storage.
Your Google Cloud SDK is configured and ready to use!

* Commands that require authentication will use [email protected] by default
* Commands will reference project `uzimihsr-01` by default
Run `gcloud help config` to learn how to change individual settings

This gcloud configuration is called [default]. You can create additional configurations if you work with multiple accounts and/or projects.
Run `gcloud topic configurations` to learn more.

Some things to try next:

* Run `gcloud --help` to see the Cloud Platform services you can interact with. And run `gcloud help COMMAND` to get help on any gcloud command.
* Run `gcloud topic --help` to learn about advanced features of the SDK like arg files and output formatting
これでSDKの初期化は完了.
次にkubectlをインストールする.Docker DesktopとかMinikubeを使ったときにHomebrewで入れてあるはずだけど, 一応再インストールしてみる.
# kubectlのインストール
$ gcloud components install kubectl


Your current Cloud SDK version is: 245.0.0
Installing components from version: 245.0.0

┌─────────────────────────────────────────────────────────────────────┐
│                 These components will be installed.                 │
├─────────────────────┬────────────────────────┬──────────────────────┤
│         Name        │        Version         │         Size         │
├─────────────────────┼────────────────────────┼──────────────────────┤
│ kubectl             │             2019.05.03 │              < 1 MiB │
│ kubectl             │                 1.11.9 │             65.3 MiB │
└─────────────────────┴────────────────────────┴──────────────────────┘

For the latest full release notes, please visit:
  https://cloud.google.com/sdk/release_notes

Do you want to continue (Y/n)?  y

╔════════════════════════════════════════════════════════════╗
╠═ Creating update staging area                             ═╣
╠════════════════════════════════════════════════════════════╣
╠═ Installing: kubectl                                      ═╣
╠════════════════════════════════════════════════════════════╣
╠═ Installing: kubectl                                      ═╣
╠════════════════════════════════════════════════════════════╣
╠═ Creating backup and activating new installation          ═╣
╚════════════════════════════════════════════════════════════╝

Performing post processing steps...done.

Update done!

WARNING:   There are older versions of Google Cloud Platform tools on your system PATH.
  Please remove the following to avoid accidentally invoking these old tools:

  /usr/local/Cellar/kubernetes-cli/1.16.2/bin/kubectl

# 元々入ってたkubectl(/usr/local/bin/kubectl)は念の為削除する
$ which kubectl
/usr/local/bin/kubectl
$ rm /usr/local/Cellar/kubernetes-cli/1.16.2/bin/kubectl
remove /usr/local/Cellar/kubernetes-cli/1.16.2/bin/kubectl? y
$ exec $SHELL -l
$ which kubectl
/Users/username/google-cloud-sdk/bin/kubectl
これでSDKのインストールは完了.
Kubernetes Engineクラスタの作成
次にgcloudで使用するデフォルトのプロジェクト, Zoneの設定をする.
先程gcloud initしたときとほとんど同じことをやっている.
# デフォルトプロジェクトをuzimihsr-01に設定
$ gcloud config set project uzimihsr-01
Updated property [core/project].

# コンピューティングゾーンをus-west1-aに設定
$ gcloud config set compute/zone us-west1-a
Updated property [compute/zone].
いよいよKubernetesクラスタを作成する.
作成自体はコマンド1行でできる. すごい.
# k8s-uzimihsrという名前でクラスタを作成
$ gcloud container clusters create k8s-uzimihsr
WARNING: In June 2019, node auto-upgrade will be enabled by default for newly created clusters and node pools. To disable it, use the `--no-enable-autoupgrade` flag.
WARNING: Starting in 1.12, new clusters will have basic authentication disabled by default. Basic authentication can be enabled (or disabled) manually using the `--[no-]enable-basic-auth` flag.
WARNING: Starting in 1.12, new clusters will not have a client certificate issued. You can manually enable (or disable) the issuance of the client certificate using the `--[no-]issue-client-certificate` flag.
WARNING: Currently VPC-native is not the default mode during cluster creation. In the future, this will become the default mode and can be disabled using `--no-enable-ip-alias` flag. Use `--[no-]enable-ip-alias` flag to suppress this warning.
WARNING: Starting in 1.12, default node pools in new clusters will have their legacy Compute Engine instance metadata endpoints disabled by default. To create a cluster with legacy instance metadata endpoints disabled in the default node pool, run `clusters create` with the flag `--metadata disable-legacy-endpoints=true`.
WARNING: Your Pod address range (`--cluster-ipv4-cidr`) can accommodate at most 1008 node(s).
This will enable the autorepair feature for nodes. Please see https://cloud.google.com/kubernetes-engine/docs/node-auto-repair for more information on node autorepairs.
Creating cluster k8s-uzimihsr in us-west1-a... Cluster is being health-checked (master is healthy)...done.
Created [https://container.googleapis.com/v1/projects/uzimihsr-01/zones/us-west1-a/clusters/k8s-uzimihsr].
To inspect the contents of your cluster, go to: https://console.cloud.google.com/kubernetes/workload_/gcloud/us-west1-a/k8s-uzimihsr?project=uzimihsr-01
kubeconfig entry generated for k8s-uzimihsr.
NAME          LOCATION    MASTER_VERSION  MASTER_IP        MACHINE_TYPE   NODE_VERSION    NUM_NODES  STATUS
k8s-uzimihsr  us-west1-a  1.13.11-gke.14  104.196.227.231  n1-standard-1  1.13.11-gke.14  3          RUNNING
クラスタができたので, CLIからこのクラスタと接続するための認証情報を取得する.
# クラスタ(k8s-uzimihsr)の認証情報を取得する
$ gcloud container clusters get-credentials k8s-uzimihsr
Fetching cluster endpoint and auth data.
kubeconfig entry generated for k8s-uzimihsr.
これでこのクラスタを使う準備が完了.
アプリのデプロイ
作成したクラスタに実際にアプリをデプロイして公開してみる.
今回は簡単なwebサーバアプリのimageを持つPodをDeploymentで作成し, Serviceを設定してそれを公開する.
# hello-serverという名前のDeploymentを作成する
$ kubectl run hello-server --image gcr.io/google-samples/hello-app:1.0 --port 8080
kubectl run --generator=deployment/apps.v1 is DEPRECATED and will be removed in a future version. Use kubectl run --generator=run-pod/v1 or kubectl create instead.
deployment.apps/hello-server created

# hello-serverのServiceを作成する
$ kubectl expose deployment hello-server --type "LoadBalancer"
service/hello-server exposed

# 公開されているIP(EXTERNAL-IP)を確認
$ kubectl get service hello-server
NAME           TYPE           CLUSTER-IP      EXTERNAL-IP   PORT(S)          AGE
hello-server   LoadBalancer   10.27.253.151   34.82.48.96   8080:30758/TCP   71s
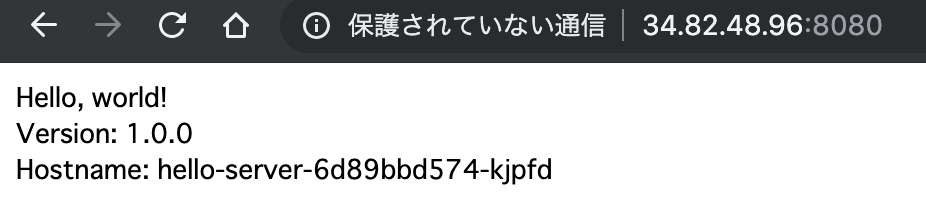
実際に公開されているIP( http://34.82.48.96:8080 )を叩くとちゃんとアプリが公開されていることがわかる. うれしい.
ちなみに今回のアプリに使用しているimageはGoで書かれていて, 以下で公開されている.
main.go
Dockerfile
Kubernetes Engineクラスタの削除
このままアプリを公開し続けるとGCPの課金が発生するらしい.
無料トライアル中なので多分関係ないが, 勉強のためにクラスタの削除までやってみる.
# Service(hello-server)を削除
$ kubectl delete service hello-server
service "hello-server" deleted

# クラスタの削除
# ちょっと時間がかかる
$ gcloud container clusters delete k8s-uzimihsr
The following clusters will be deleted.
 - [k8s-uzimihsr] in [us-west1-a]

Do you want to continue (Y/n)?  y

Deleting cluster k8s-uzimihsr...done.
Deleted [https://container.googleapis.com/v1/projects/uzimihsr-01/zones/us-west1-a/clusters/k8s-uzimihsr].
これでクラスタが削除できた.
よくわかってないけどServiceだけ消してるのはそこに課金が発生するからみたい.
(アプリを外部公開している時間に対して課金が発生する?)
おわり
CLIから簡単に外部公開用のクラスタが構築できてすげー便利だと思った.
アプリを開発できる人間が星の数ほどいる現在,
アプリの開発や公開に便利な環境を提供するサービスはドンドン売れるってはっきりわかんだね. Googleすごい.
“ゴールドラッシュのときに一番儲かったのは金を掘るための道具を売ってた人たち"的な話を思い出した.
次はKubernetes完全ガイドを読んだ内容をまとめていきたい.